Commercial Growth
Customer Journey with Elmwood Timber in Peculiar, Missouri
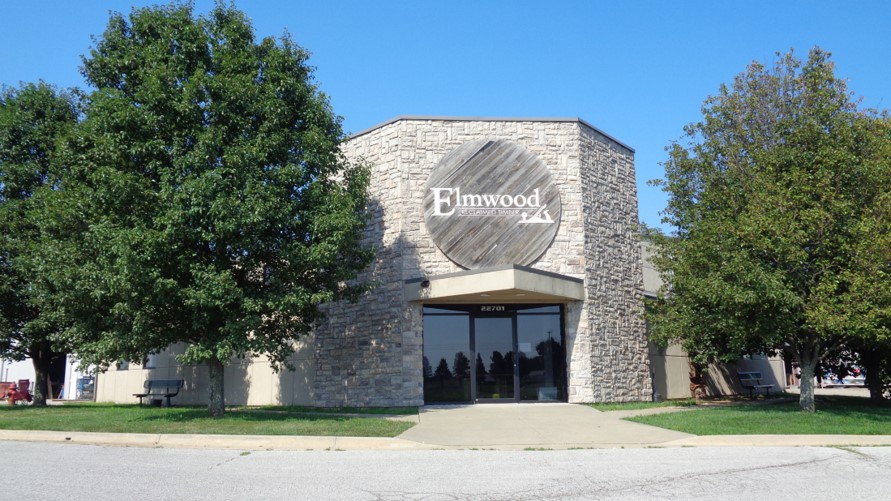
“Elmwood is growing so fast, we needed a large commercial building to keep up with the demands of our custom wood design customers.”
~Gordon
Ground Preparation
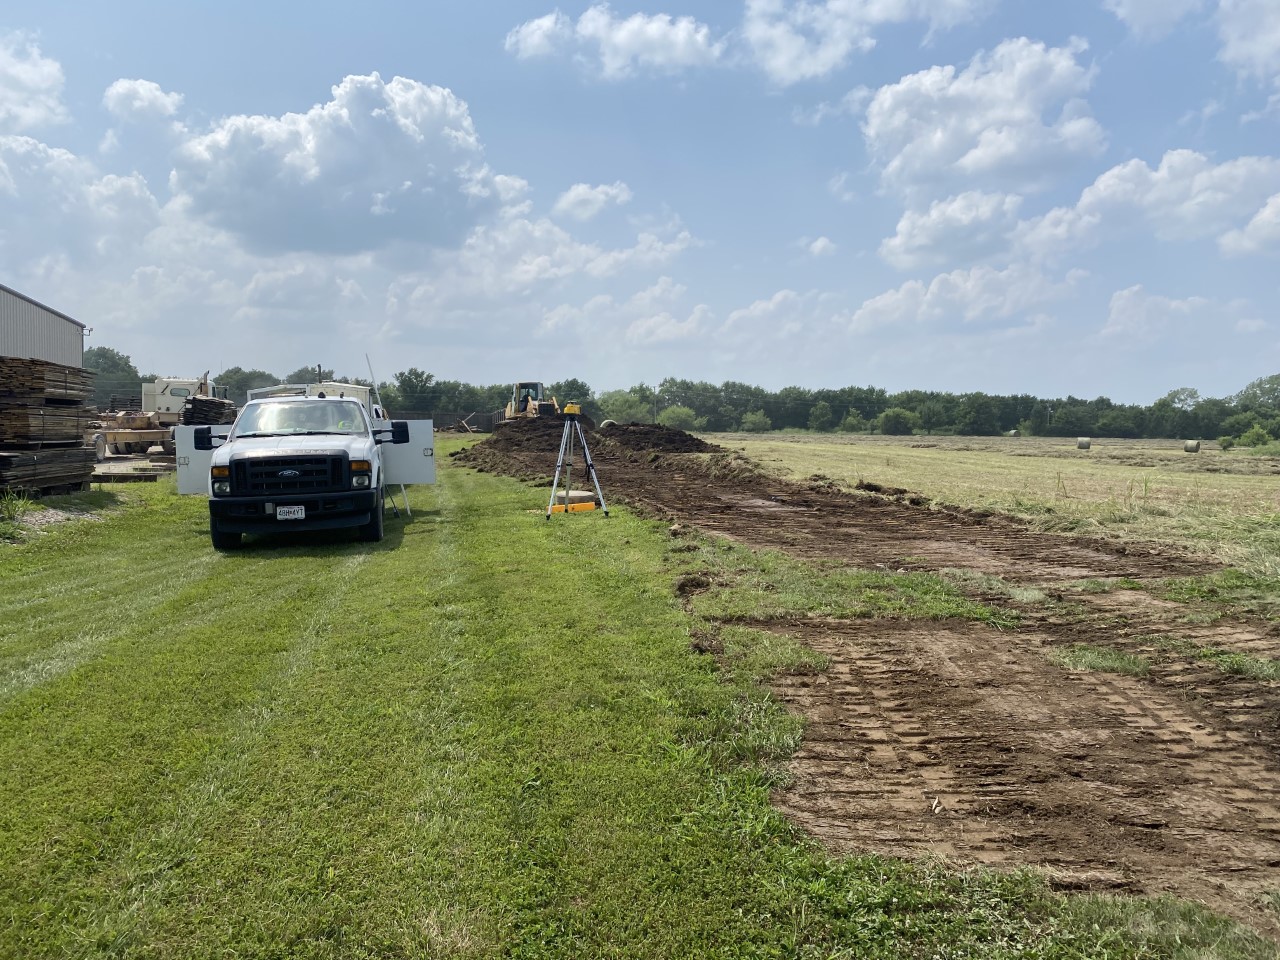
Ground Clearing
Step 1
Removal of any brush, big rocks or debris in and around the site as well as determining elevation using a Transit Leveling Laser instrument to survey the ground.

Grade Work
Step 2
Excavation and ‘grading’ the area to ensure the building pad will be precisely the same grade from corner to corner.
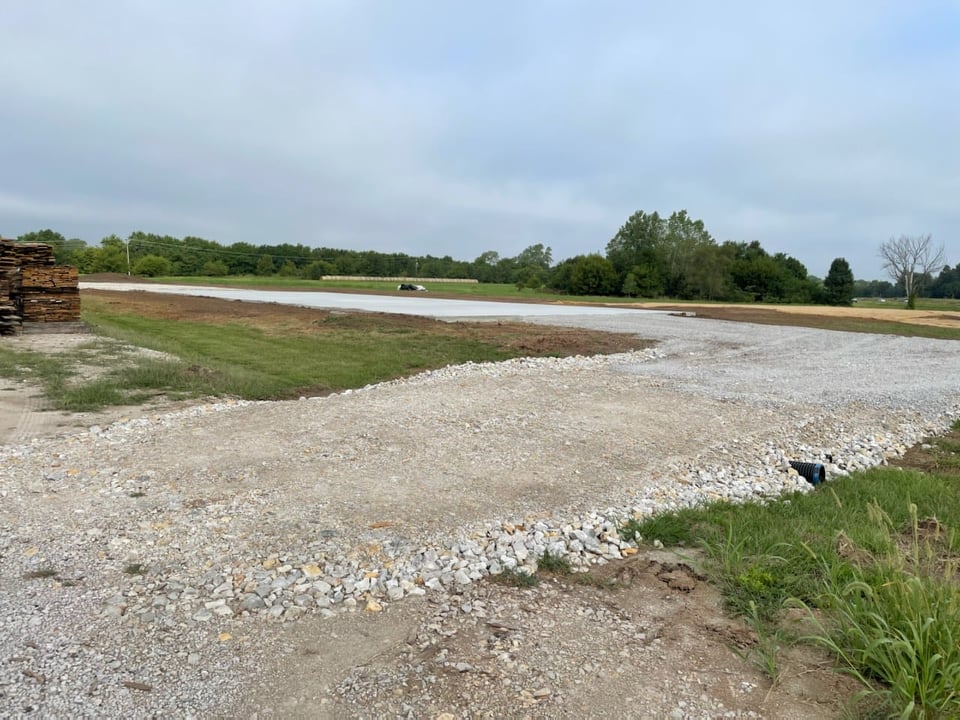
Delivery Preparation
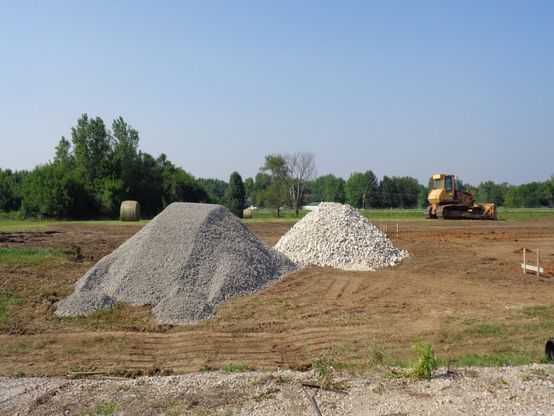
Gravel Pad
Step 3
Gravel will need to be spread over the area to provide a basic foundation underneath the concrete slab.
Foundation Formation
Step 4
Footings and foundation framework will need to be set to ensure the weight of the building is distributed evenly.
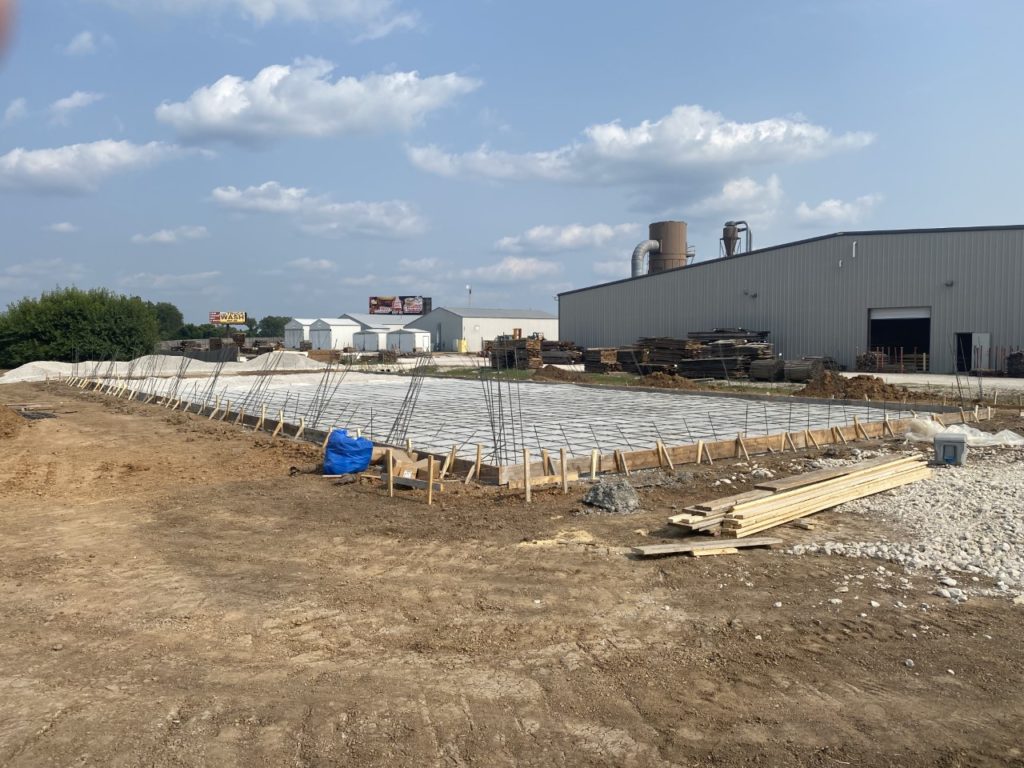
Foundation Creation
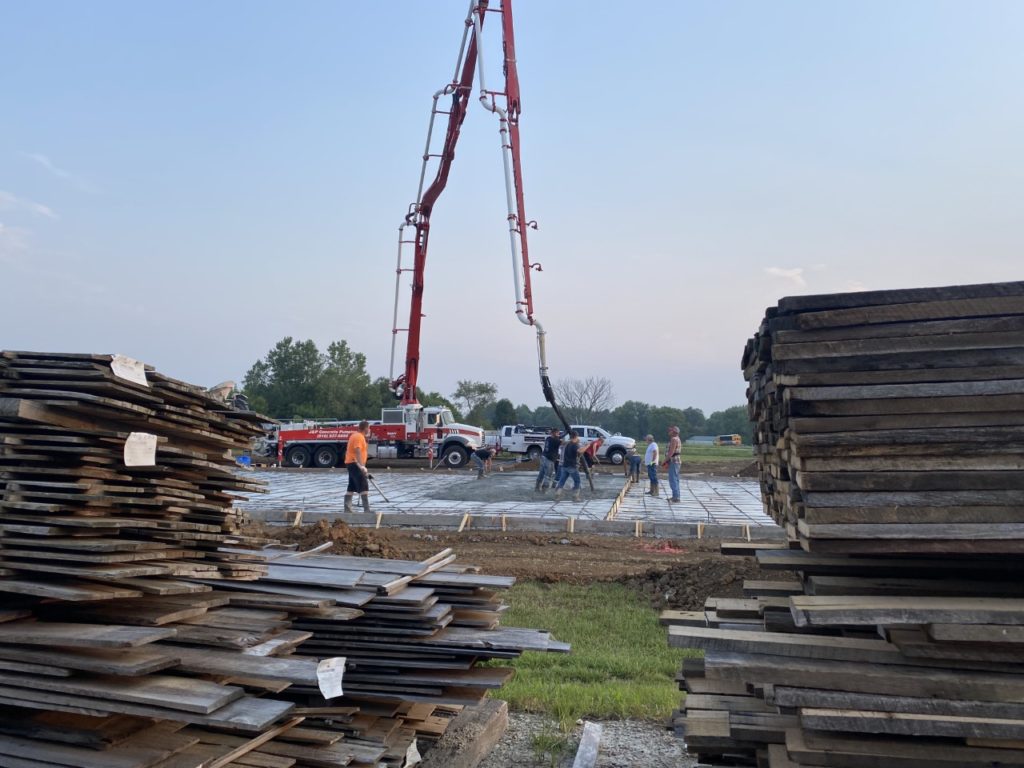
Pouring Concrete
Step 5
Concrete will need to be poured at least 4-6 inches deep, depending on the level of support needed inside the structure for heavy materials.
Concrete Foundation
Step 6
Once the concrete foundation is cured, you are ready for the building installation components to be brought in and laid out.
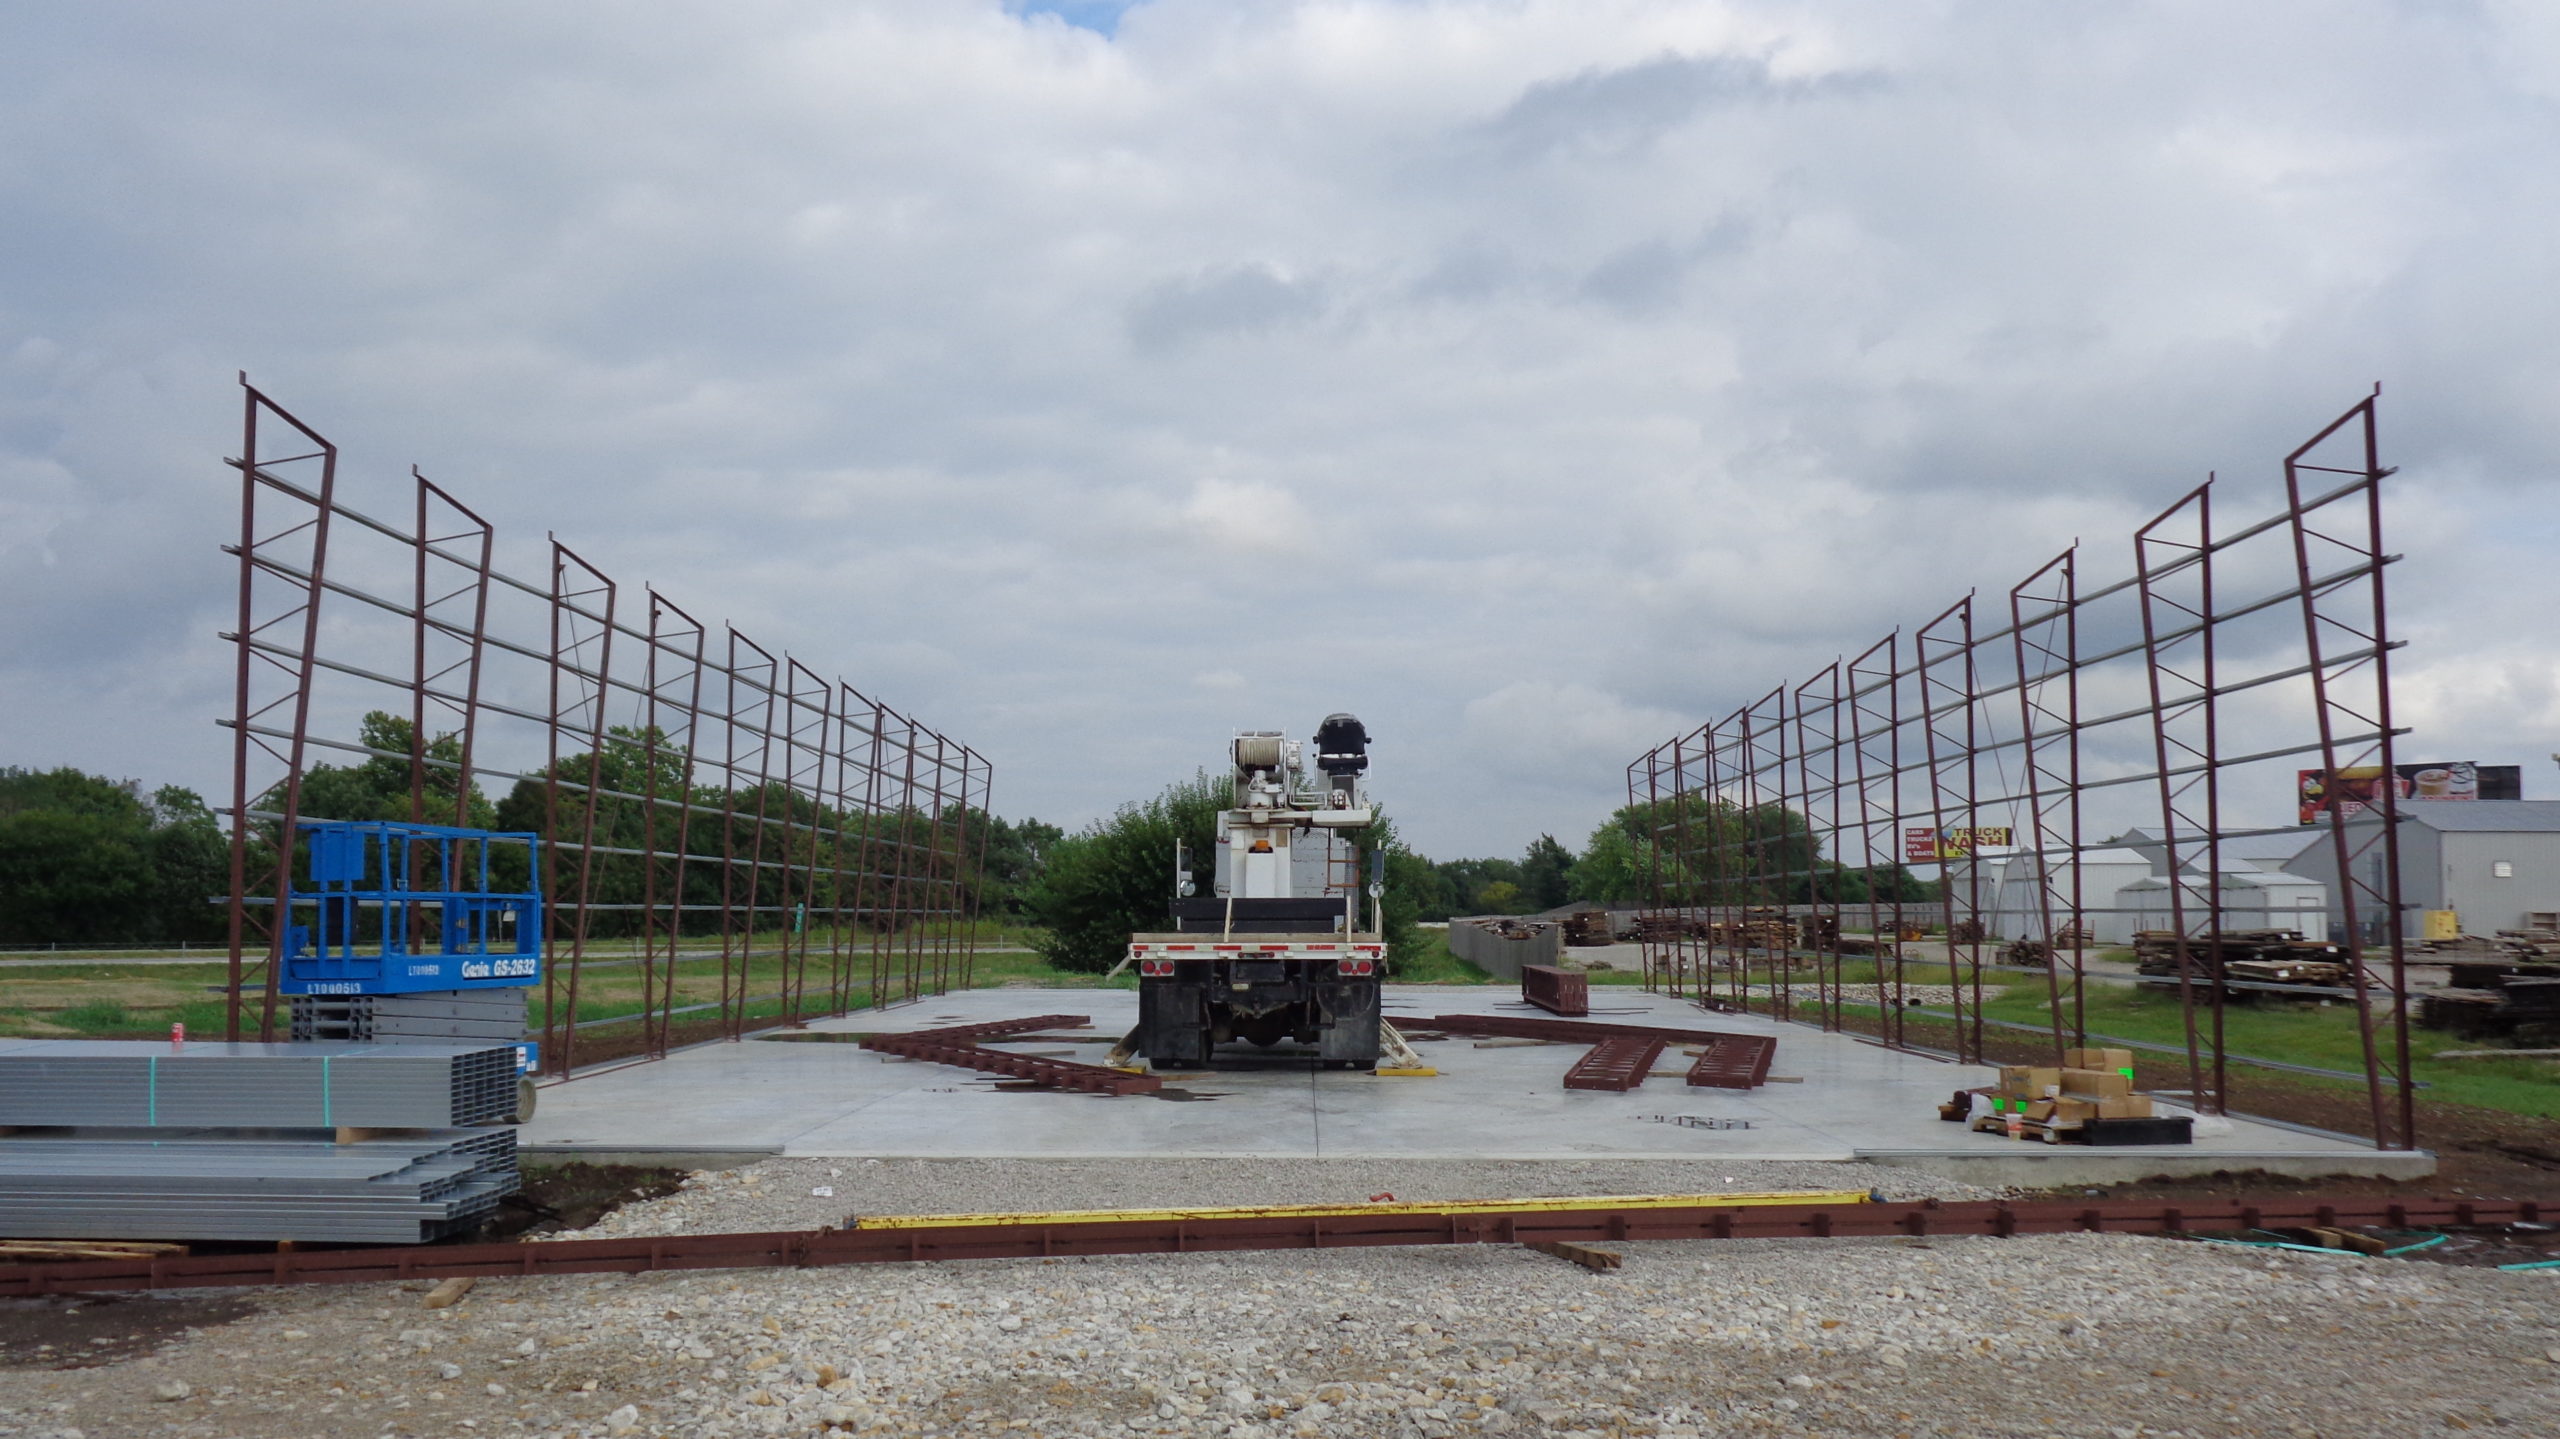
Setting Columns
Column Spacing
Step 7
Space the columns out on the concrete as shown in your structural drawings. Make sure crane capacity for the lift is sufficient.

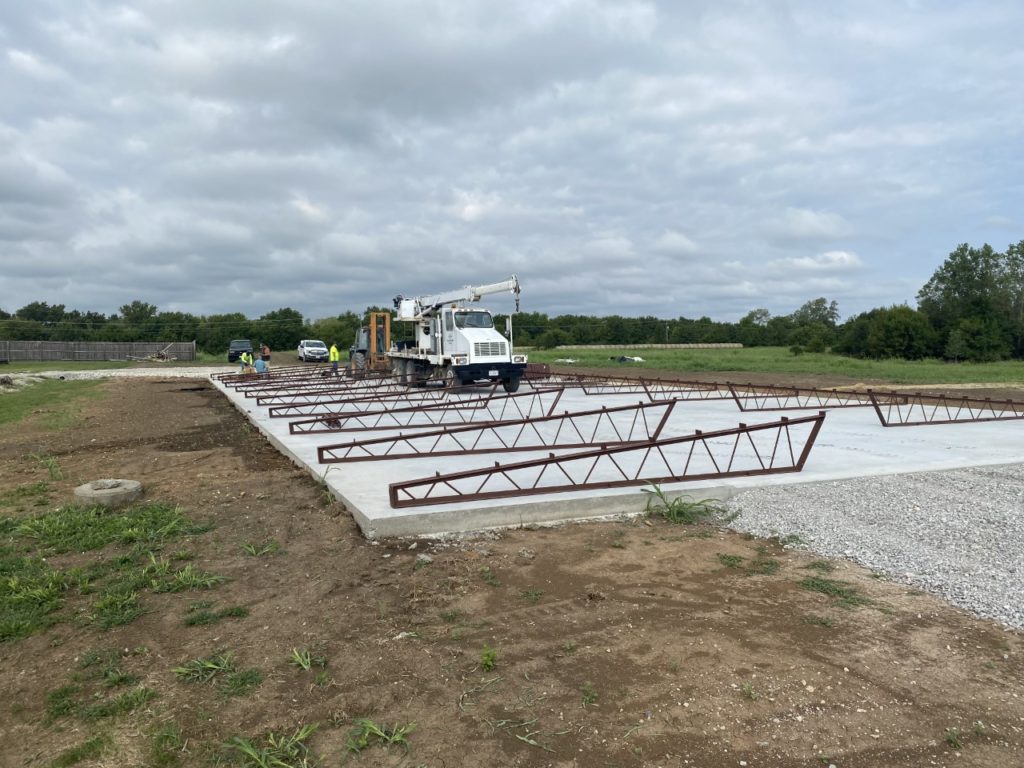
Setting Trusses
Step 8
One by one, each column will need to be bolted to the concrete using a lift to place each column in the appropriate spot.
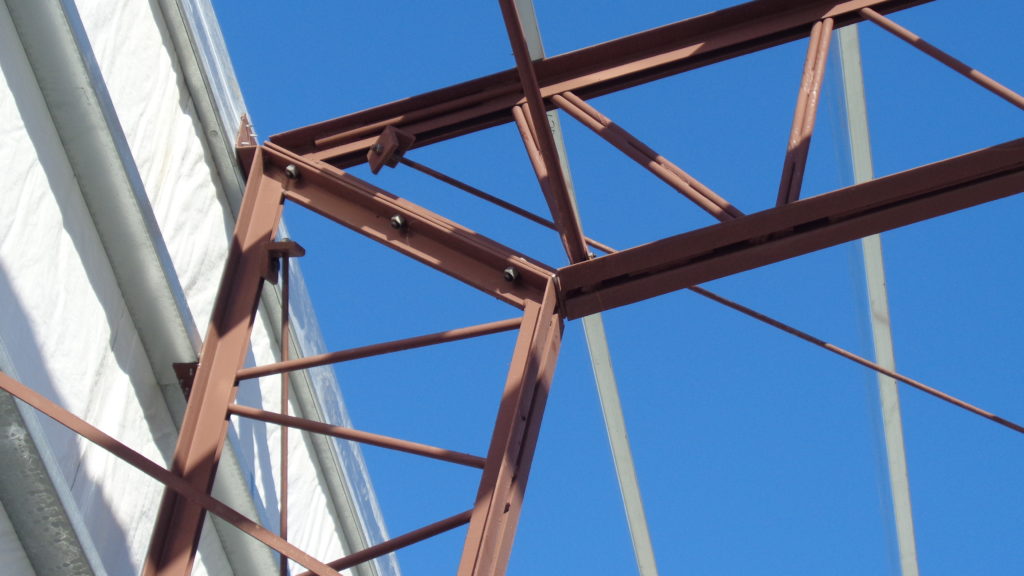
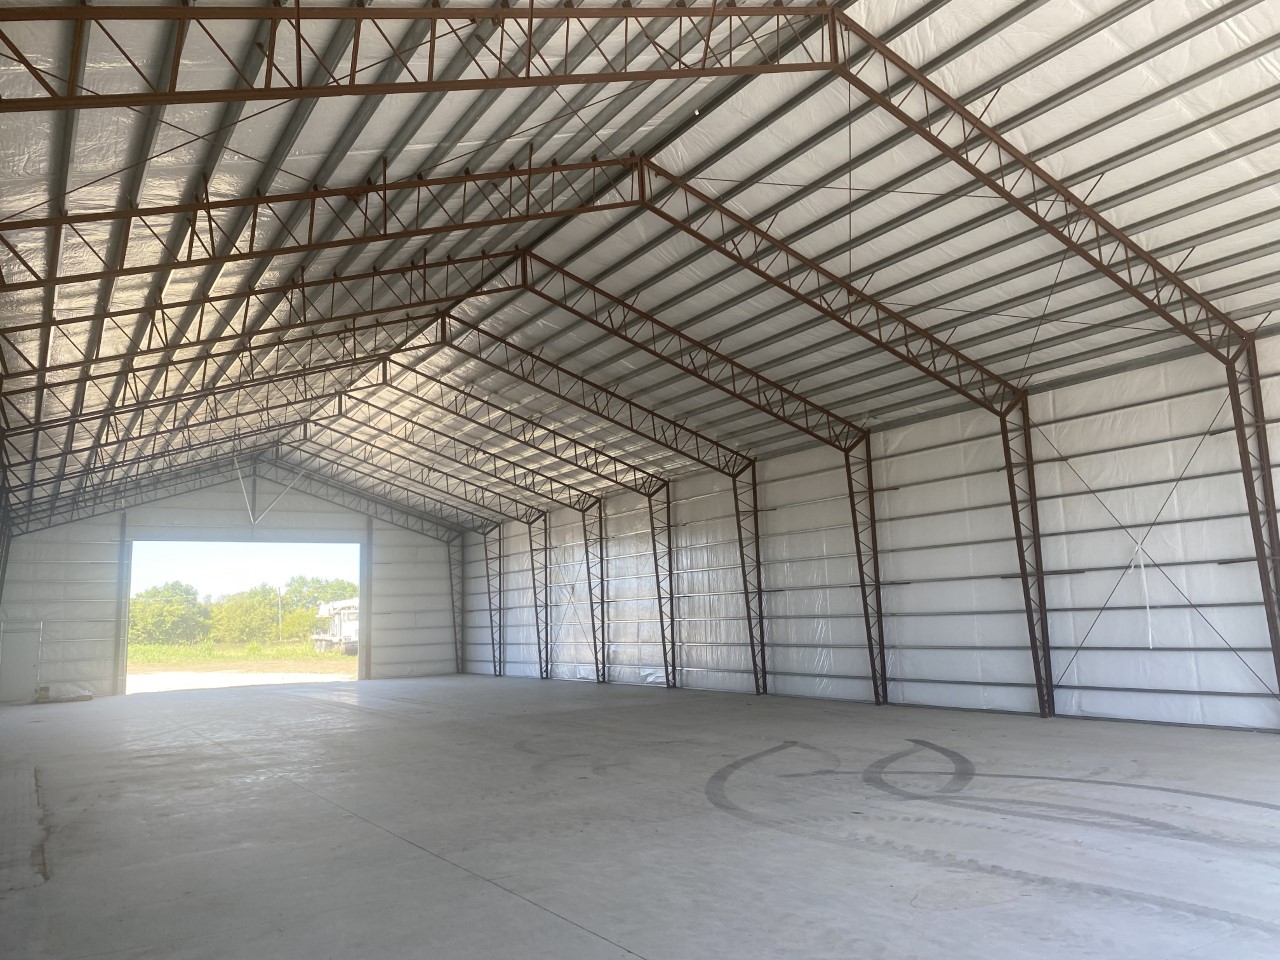
Building Erection
Once your columns are set, you can begin bolting the trusses to the top of the each column. Then you can hang your wall girts and your roof purlins. After that, hang your wall panels.

Side Walls & End Walls
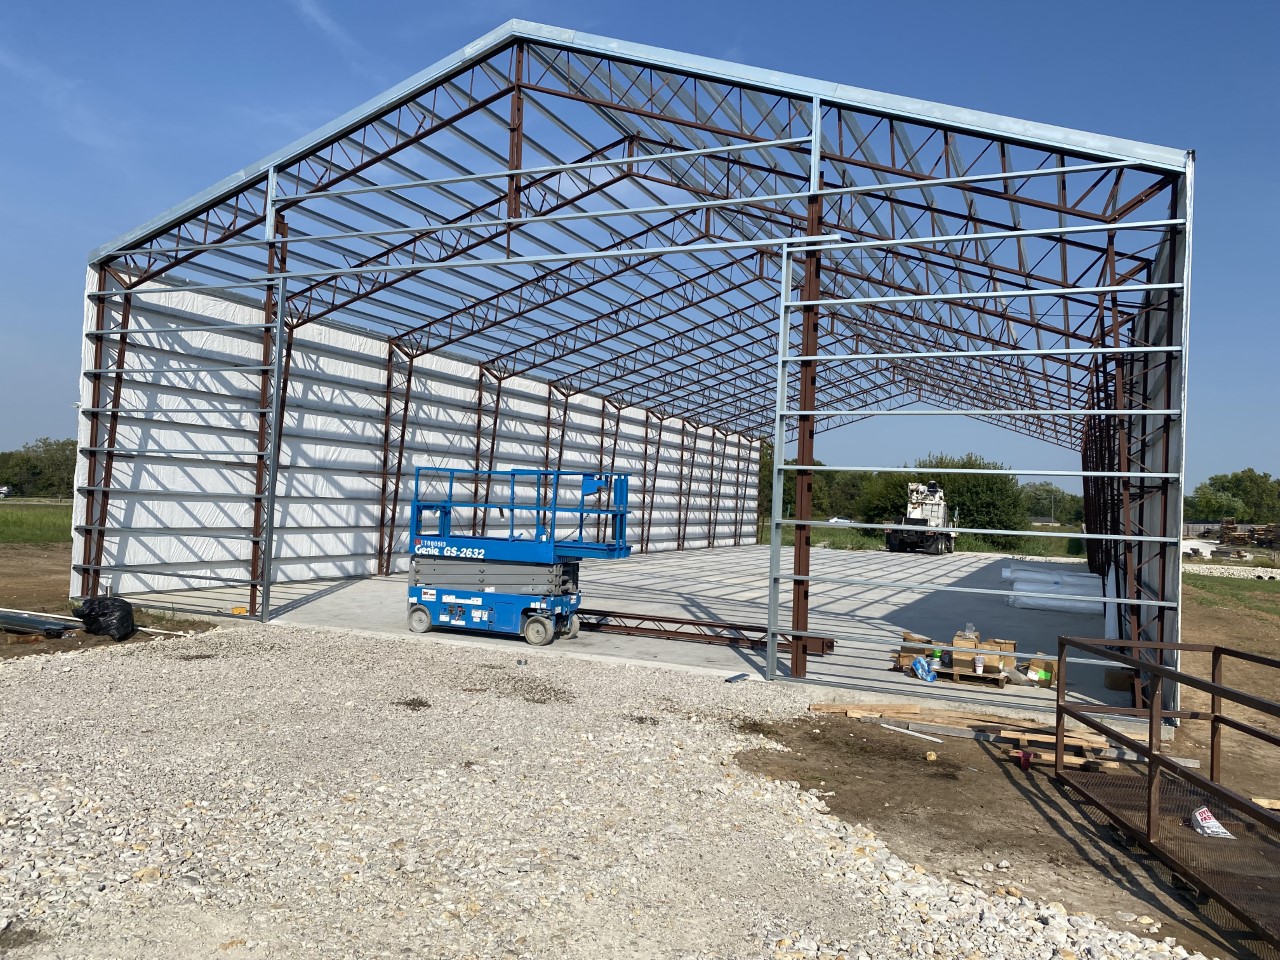
Once your structural framework is erected and bolted together, you can start hanging your outer shell wall panels.

Metal Roof Panels
Placement of your metal roof panels is typically the final phase of your building installation process.
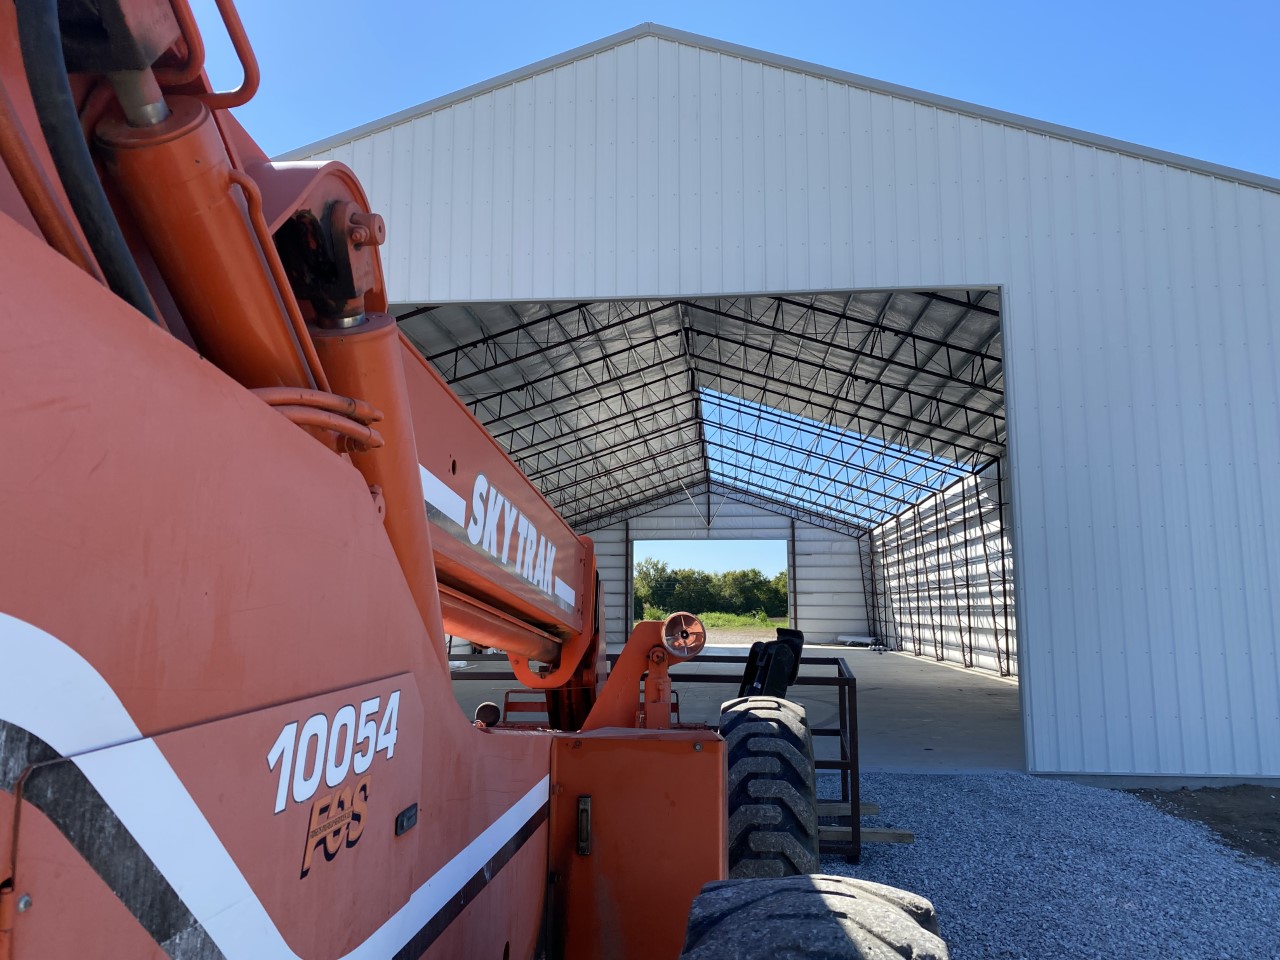
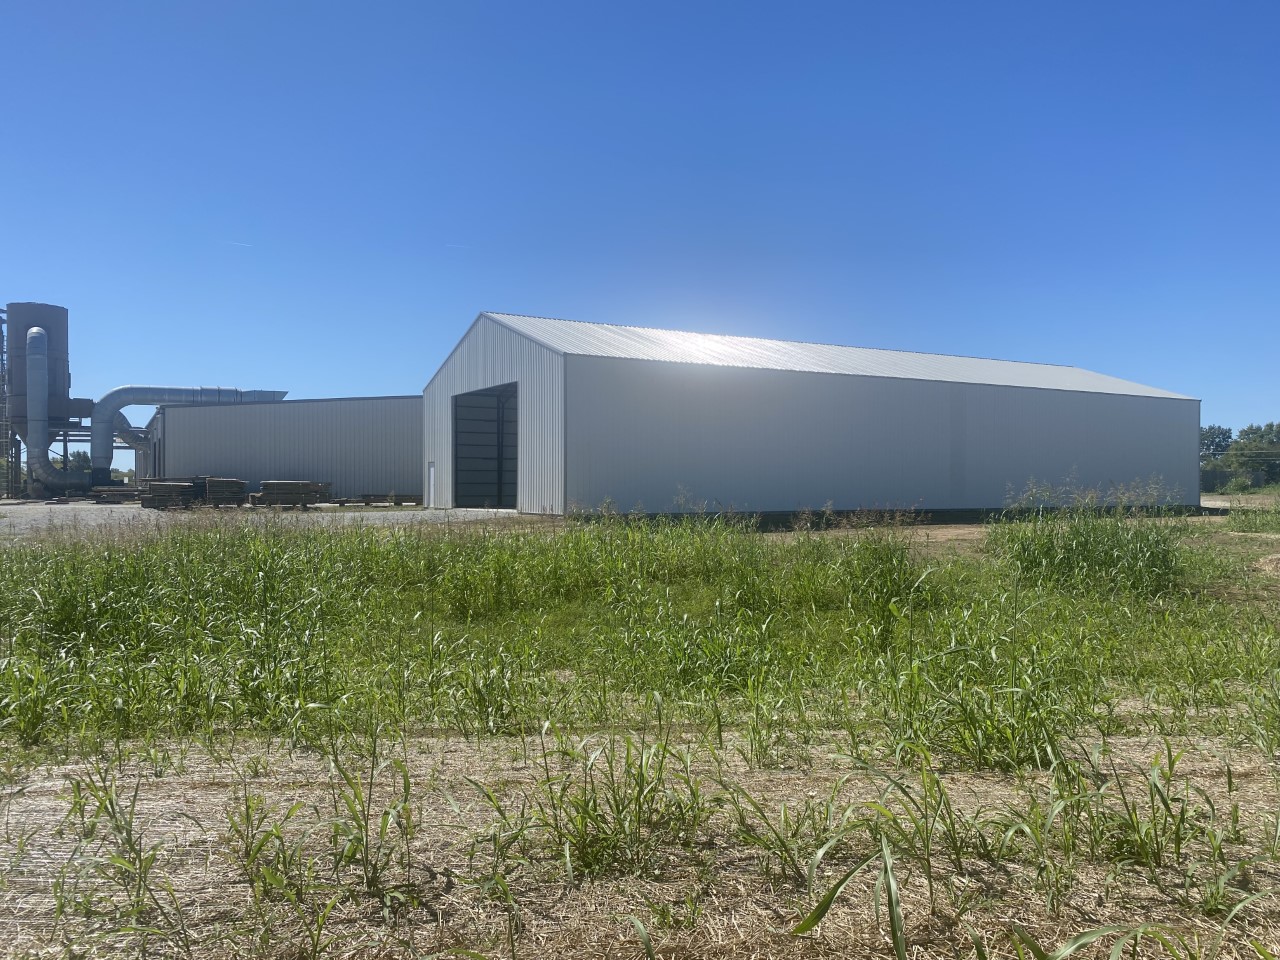
Finished Product
Elmwood Timber’s steel building project came together as planned and was finished in just under six weeks!

Our building design experts are available to answer any questions you may have about your building project. Call us at 800-825-0316 or contact us for more information.