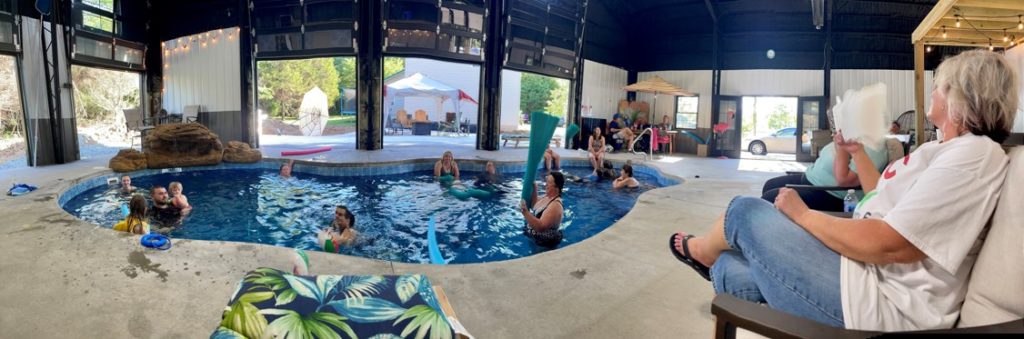
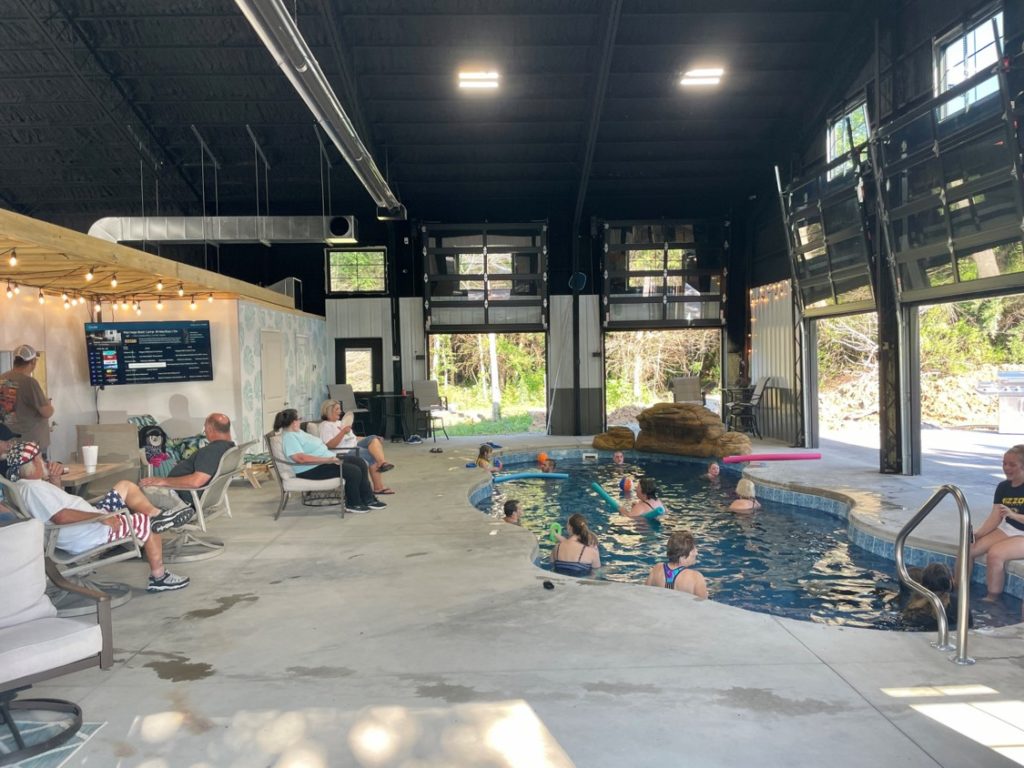
Family Recreation Time
Customer Journey with the Buxton Family in Farmington, Missouri
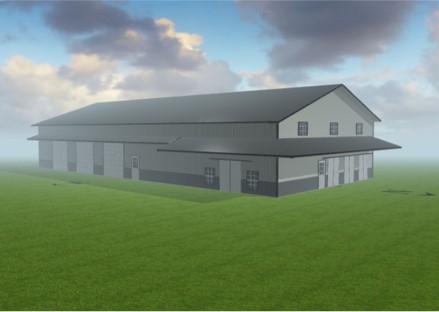
“We searched all over the web and found Worldwide’s 3D Designer Tool that made it very easy for us to customize every aspect of our building. We spent hours playing with it. Our building expert Kody was great to work with and very helpful. He added the eave extensions to our design, which made the building look like more than just a garage. After that, we submitted our design for a quote and we were sold!”
~Jason
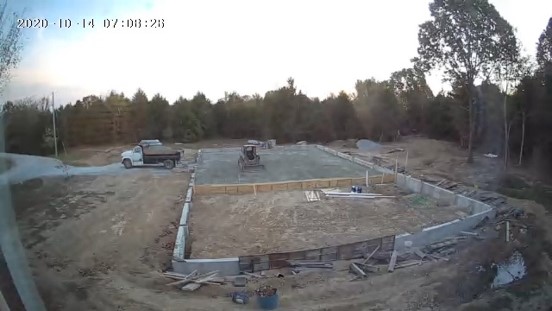
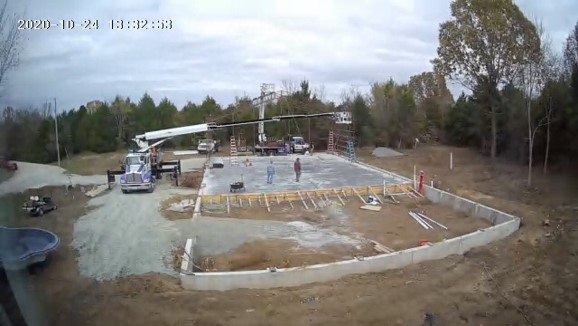
Foundation Creation
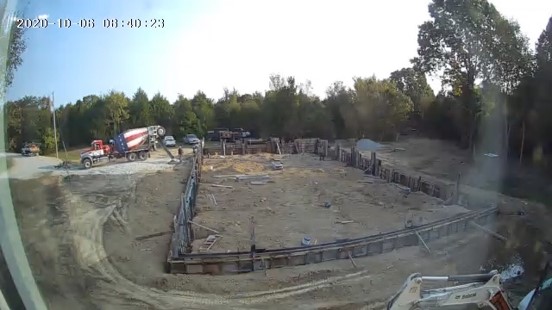
Step 1
Creating foundation walls first is an option where the outer walls of the foundation are set before gravel and concrete is poured inside the walls.
Step 2
Grading the area in and around the foundation walls to provide a even base from one end to the other.
Leveling Up

Step 3
Excavating the area inside the foundation walls to ensure the building pad will be precisely the same grade from corner to corner.
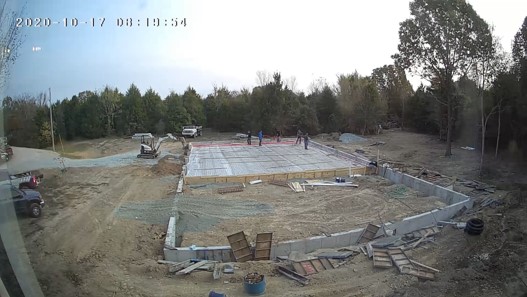
Step 4
Gravel is then spread over the area to provide the base material before the concrete is poured.
Ready for Concrete
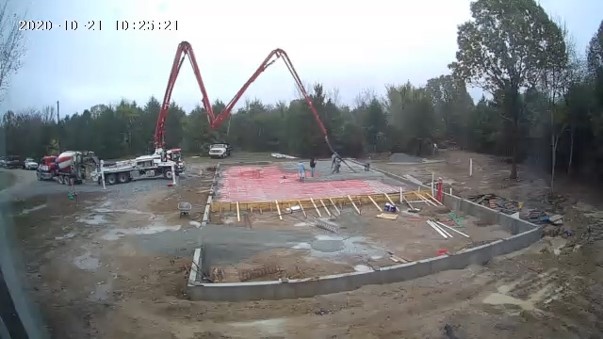
Step 5
Concrete to be poured at least 4 to 6 inches deep, depending on the level of support needed inside the structure.
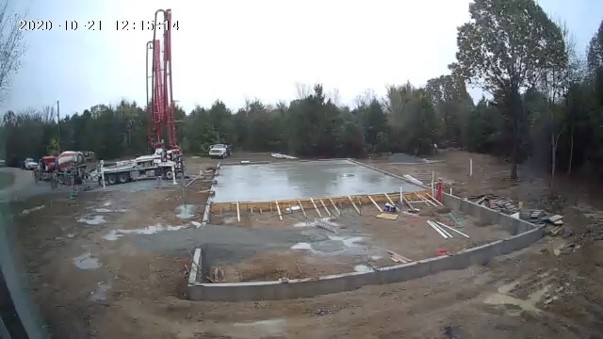
Step 6
Timing is essential to get the finished concrete style you want if you plan to leave the concrete exposed or stain it with color.
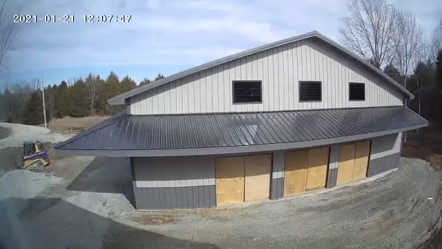
Building Installation
Since I own a sign company, we had access to boom/crane trucks, a bucket lift and a scissor lift. Basically, our signage crew installed the building over several Saturdays and it worked out great.
~Jason
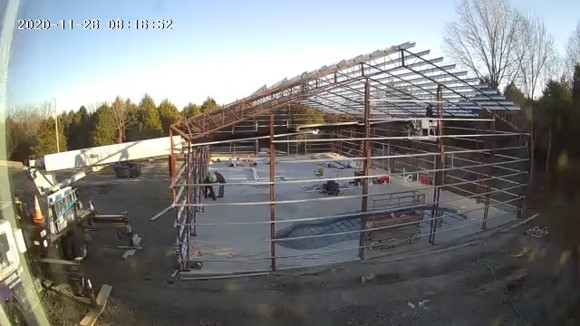
Setting your steel columns to create the main structure of the building
Placing your roof purlins and then hanging your wall girts
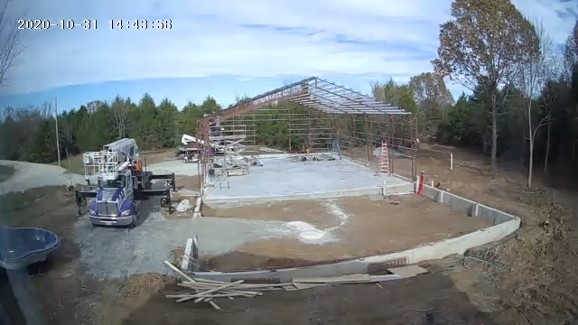
Something Extra
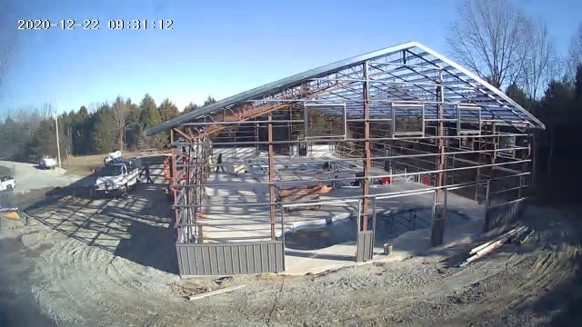
Anything is possible because of the clear span framing in Worldwide’s steel building structures. No need for interior support walls, which allows for maximum interior space usage.
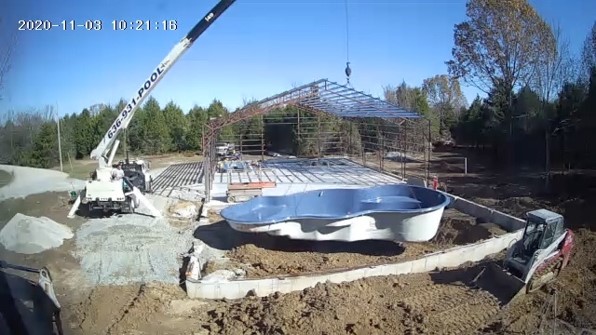
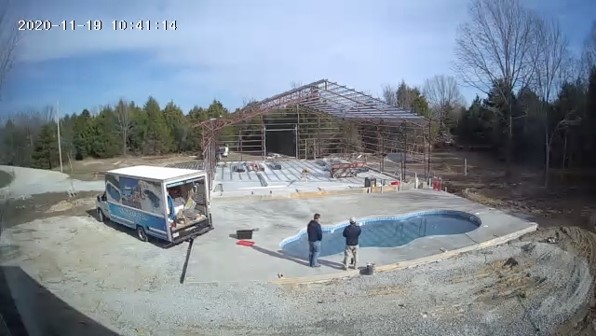
Second Phase
Now that the swimming pool insert has been set and concrete is finished, the second half of the building installation comes together. After that, all custom framework such as windows, doors, overheads, porches and custom accessories can be installed.
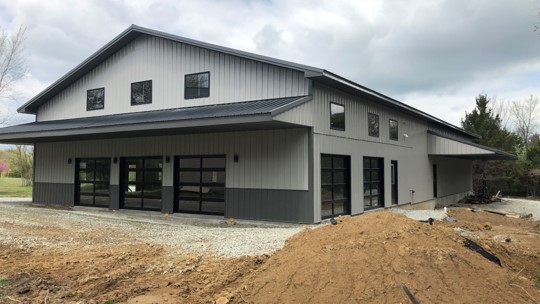
The Outer Shell
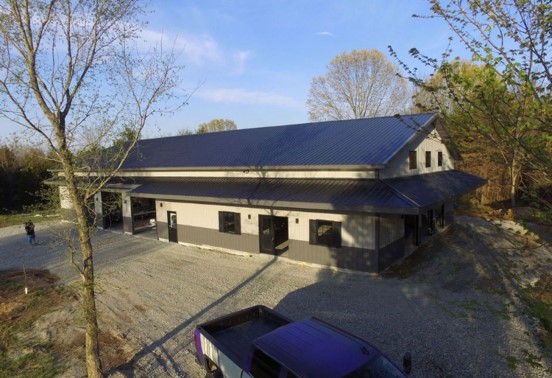
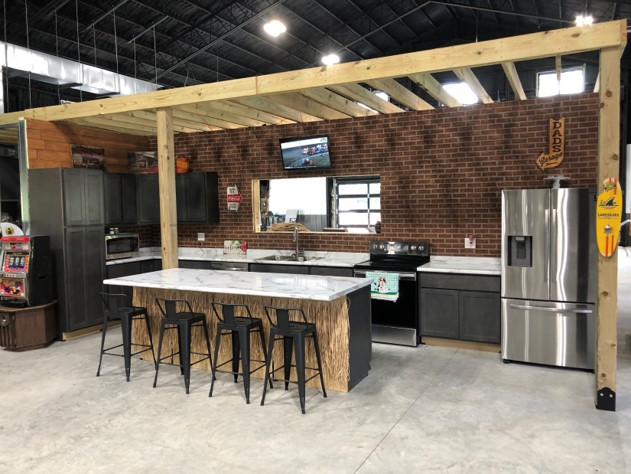
The Buxtons chose a low maintenance metal exterior with contrasting wainscot to enhance the finished look.
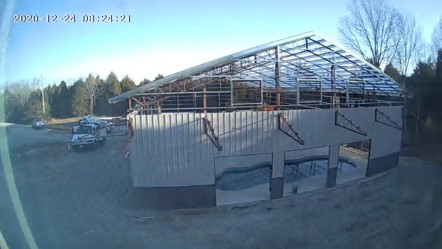
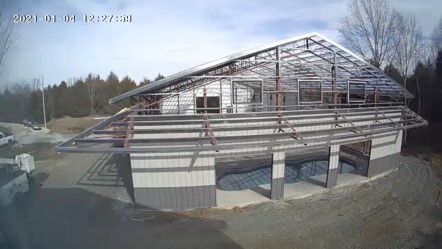
Porch extensions can be placed at the same time as the siding and roofing components.
The Finished Product
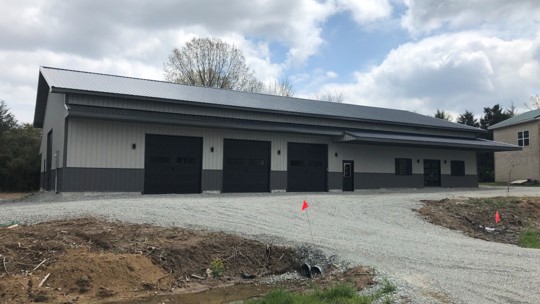
Our once 40×60 building ended up becoming a 50×100 with plenty of room for storage as well.
~Jason
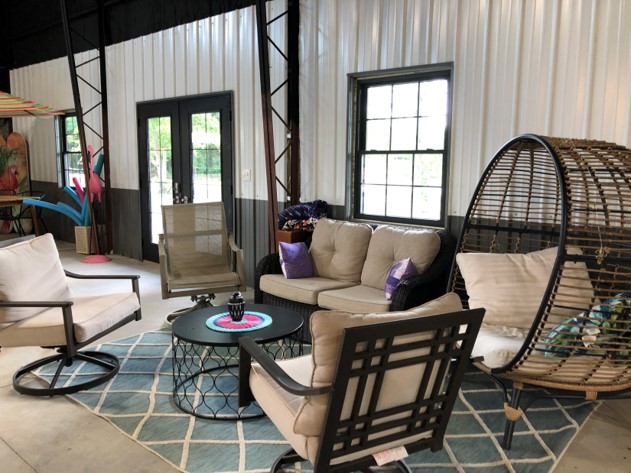
Interior Styling

Happily Ever After
“We love having big glass garage doors to let in the fresh air during the warm season. Our walls were tall enough so the garage door company could actually install them to go straight up rather than overhead.”
~Jason

Our building design experts are available to answer any questions you may have about your building project. Call us at 800-825-0316 or contact us for more information.