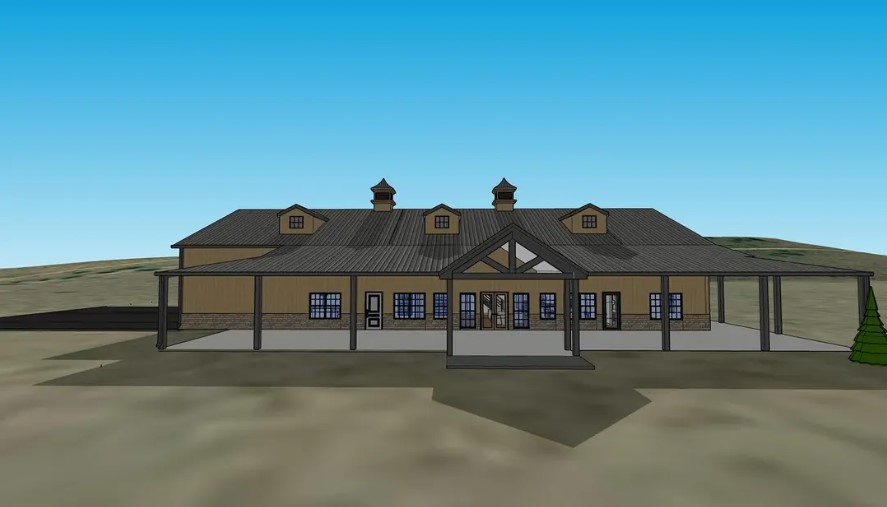
Barndo on a Bluff
Customer Journey with the Arndt Family in Northern Nevada
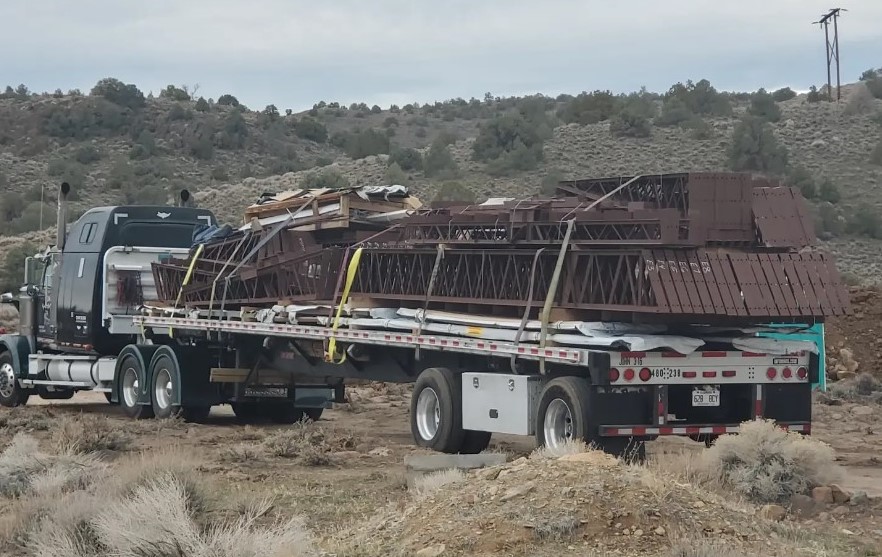
40,000 LB pounds of American Steel from Worldwide Steel Buildings
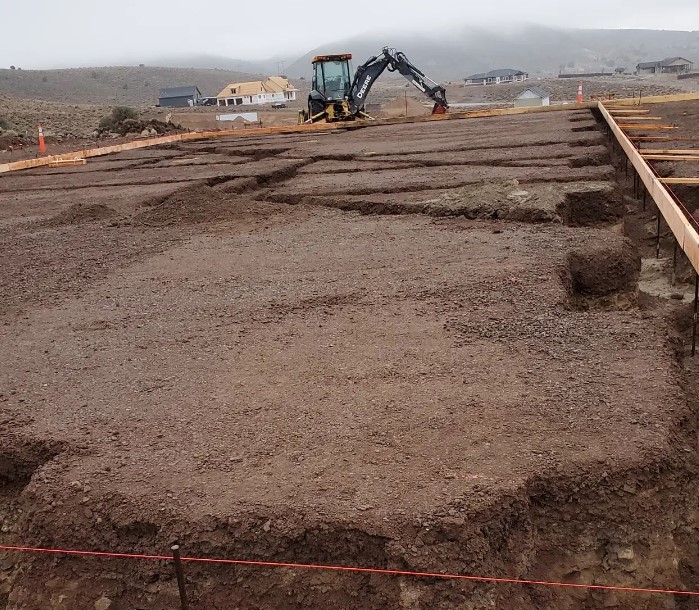
Kickoff: Ground Prep
Step 1 Removal of all brush, big rocks and debris around the job site while working towards a solid, level area while filling in any low spots with extra dirt.

Step 2 Excavation and ‘grading’ the area to ensure the building pad will be precisely the same grade from corner to corner, assuming the ground has been settling long enough. A Transit leveling laser will be needed for this aspect of your build.

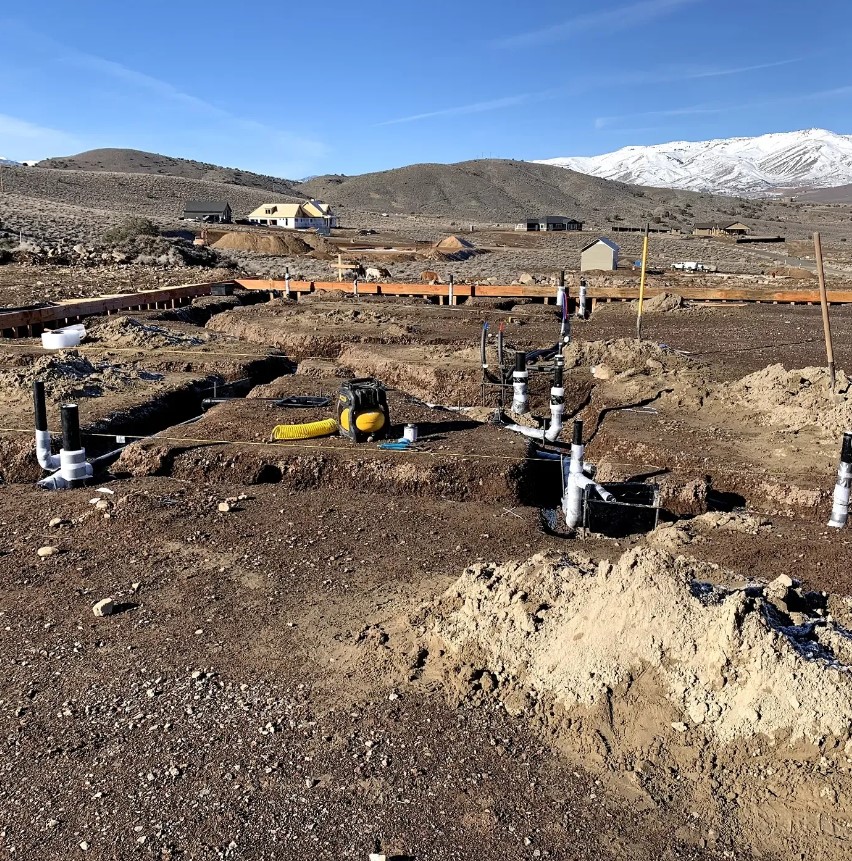
Foundation Creation
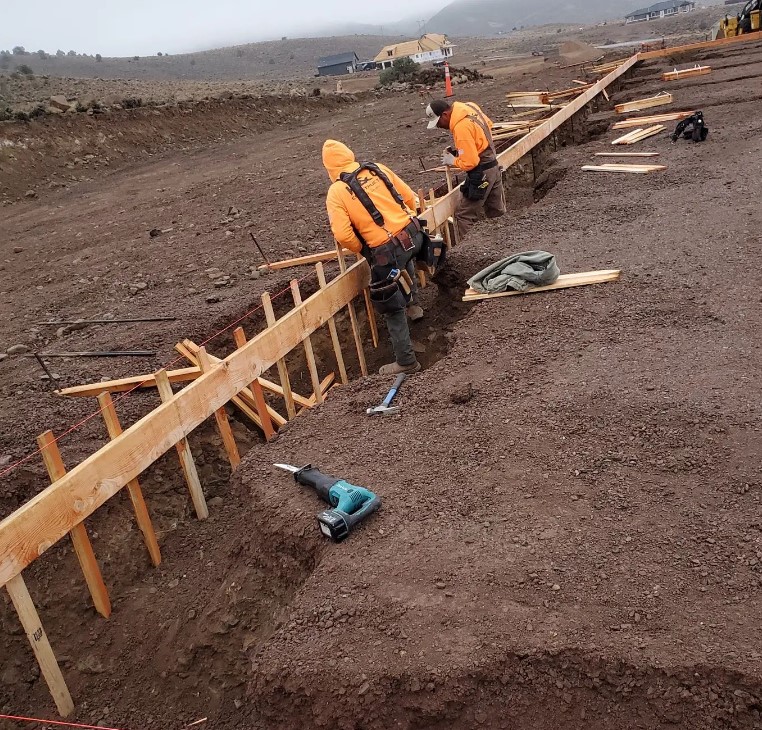
Step 3 Placing your plumbing and electrical lines at the same time as your footings are being formed is a smart route for a residential foundation design. Determining a proper access point to clean out your main sewer drain at the roughed-in ground level is also something to address during this phase of your foundation setup. The most popular placement for this setup would be your utility area, as most custom barndo designs include a full size utility room.
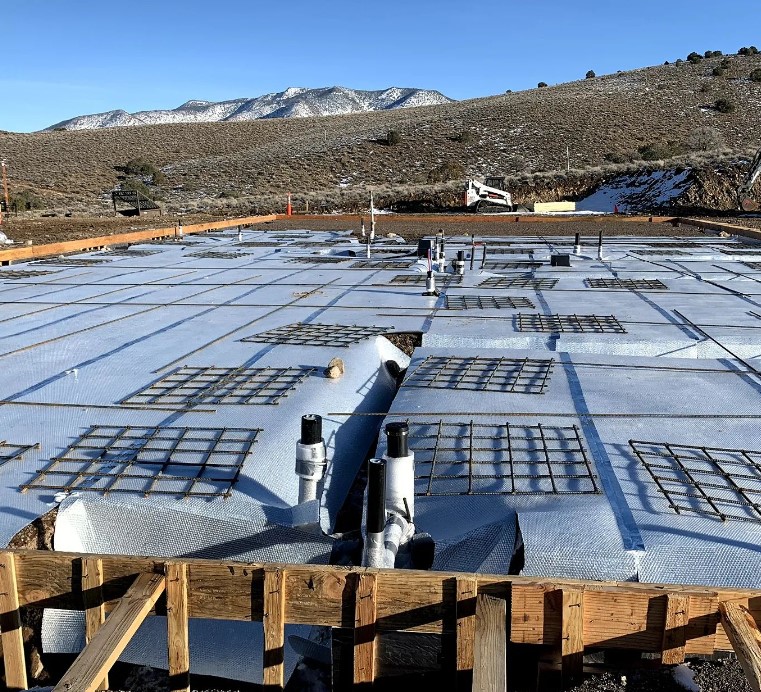
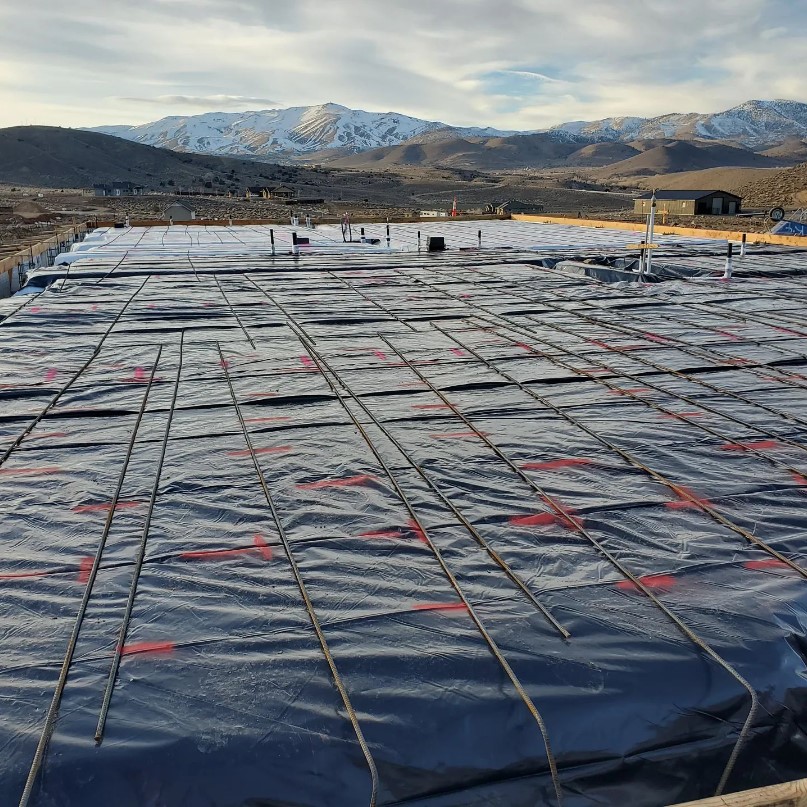
Step 4 Vapor barrier – 6 rolls of rFOIL Ultra CBF was used as an additional layer of protection on top of the gravel. Now they can tie the rebar into a connected grid before the concrete is spread and strengthen the foundation for more resistance against surface cracks.
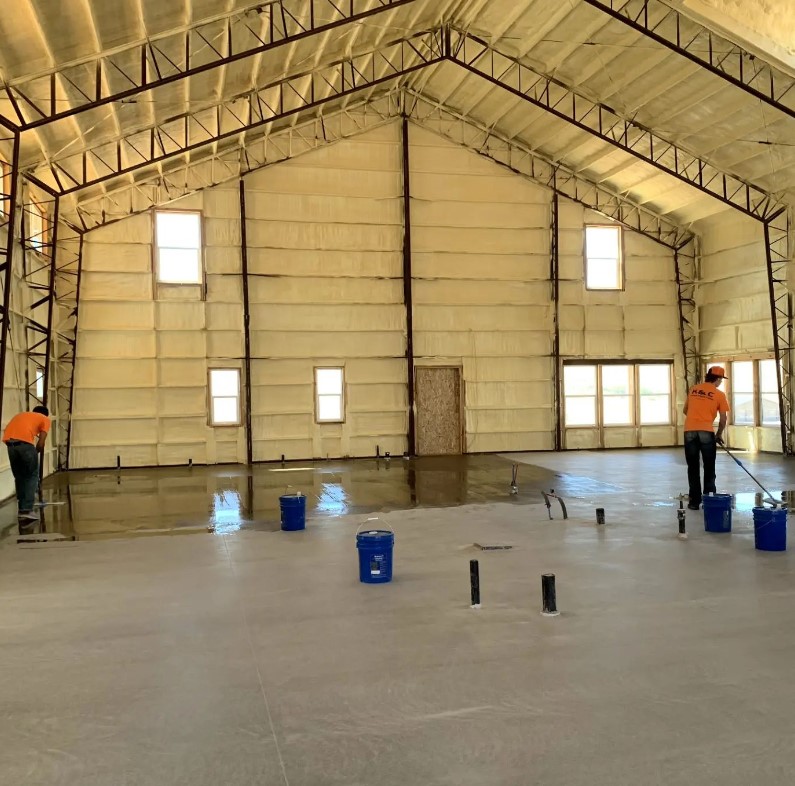
Concrete Time
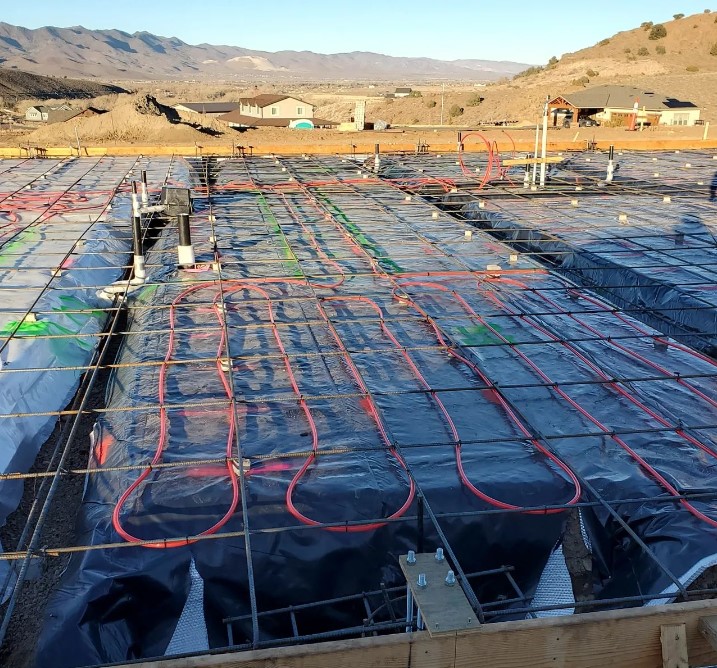
Step 5 After the Pex installation for the radiant heat, concrete can now be poured at least 4 inches deep, depending on the level of support needed inside each section of your structure. Equipment storage areas may require 6 inches or more.
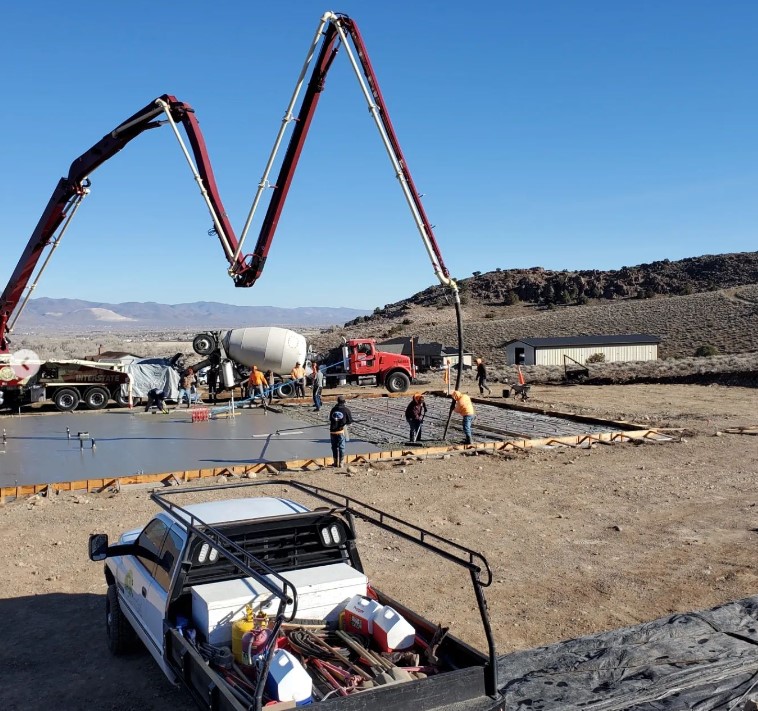

Step 6 Once the concrete foundation is poured and has cured for several days based on sun and heat, you are ready for the building installation components to be brought in and laid out for assembly.
Trusses + Columns
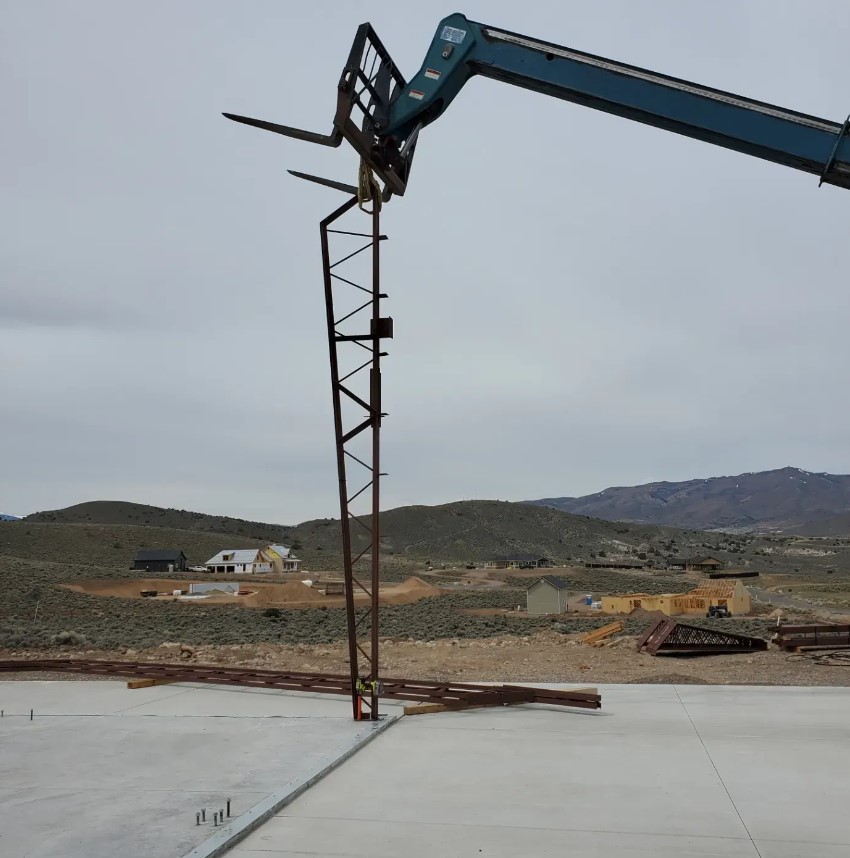
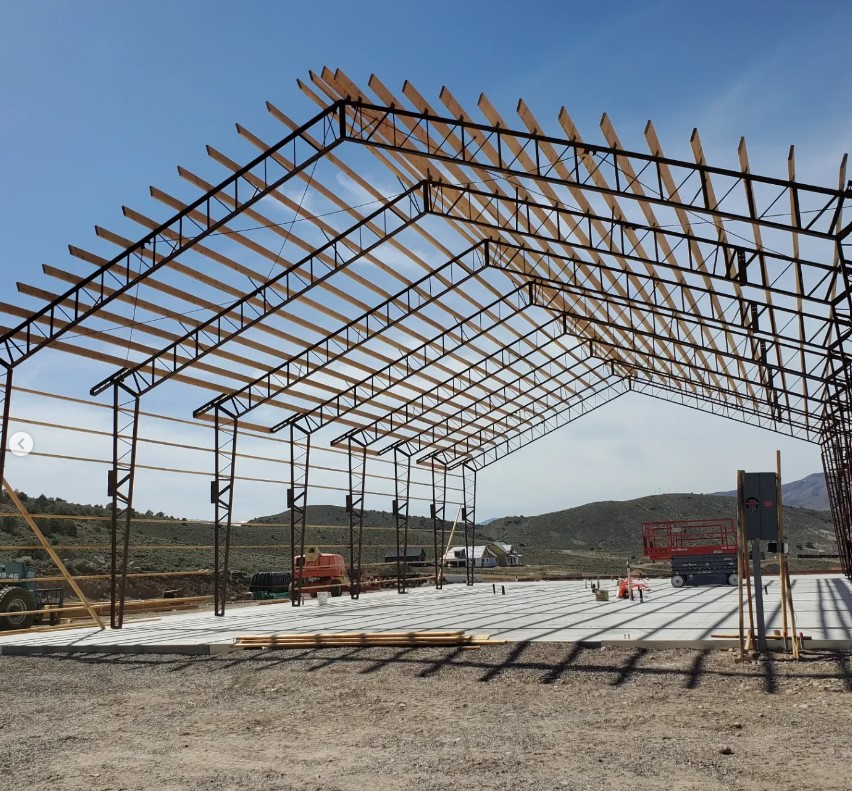
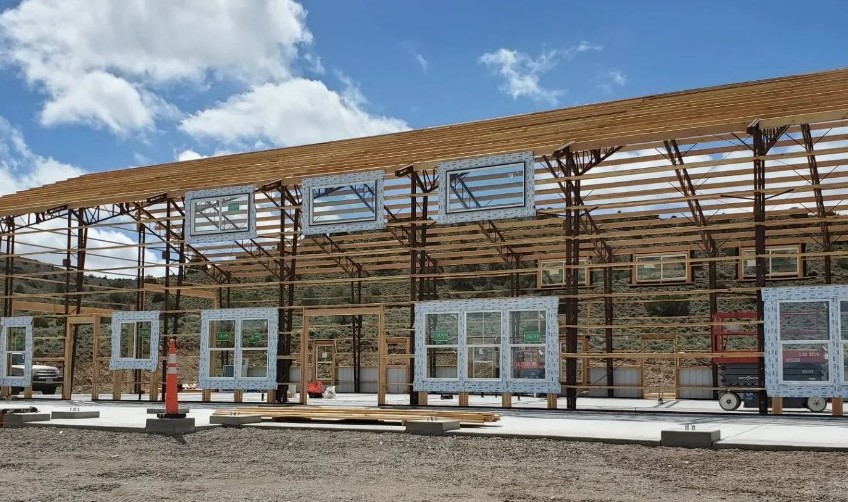
Step 7 Bolt down the columns to your concrete as shown in your structural drawings. Once your columns are set, you can begin setting the trusses on top of the each column.

Step 8 Once your primary framework is constructed, you can begin hanging your secondary framework with your wall girts and roof purlins. A scissor lift is very handy for this aspect of your build.
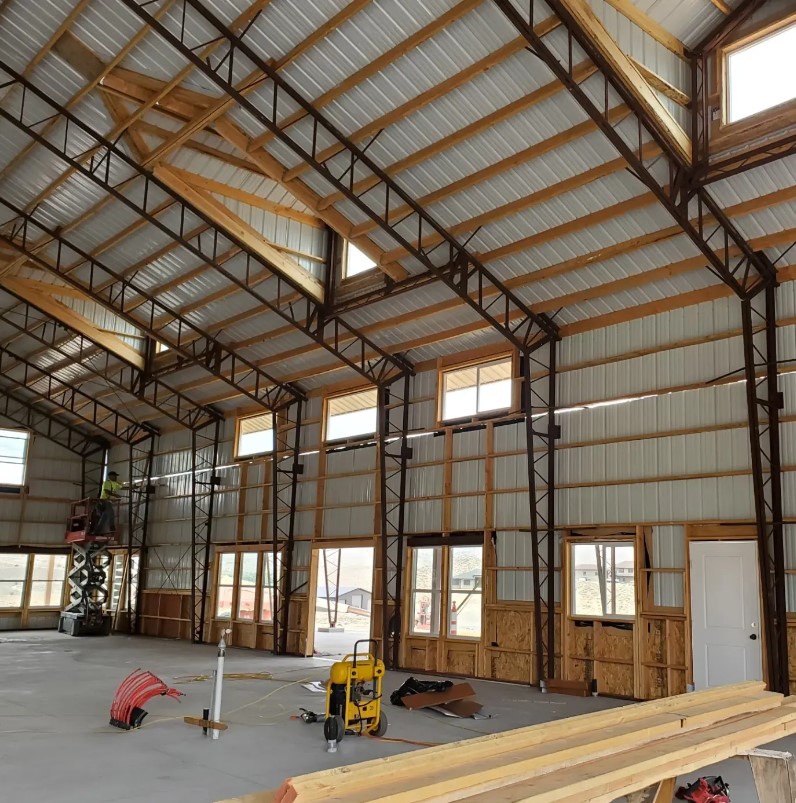
Roof Purlins + Wall Girts
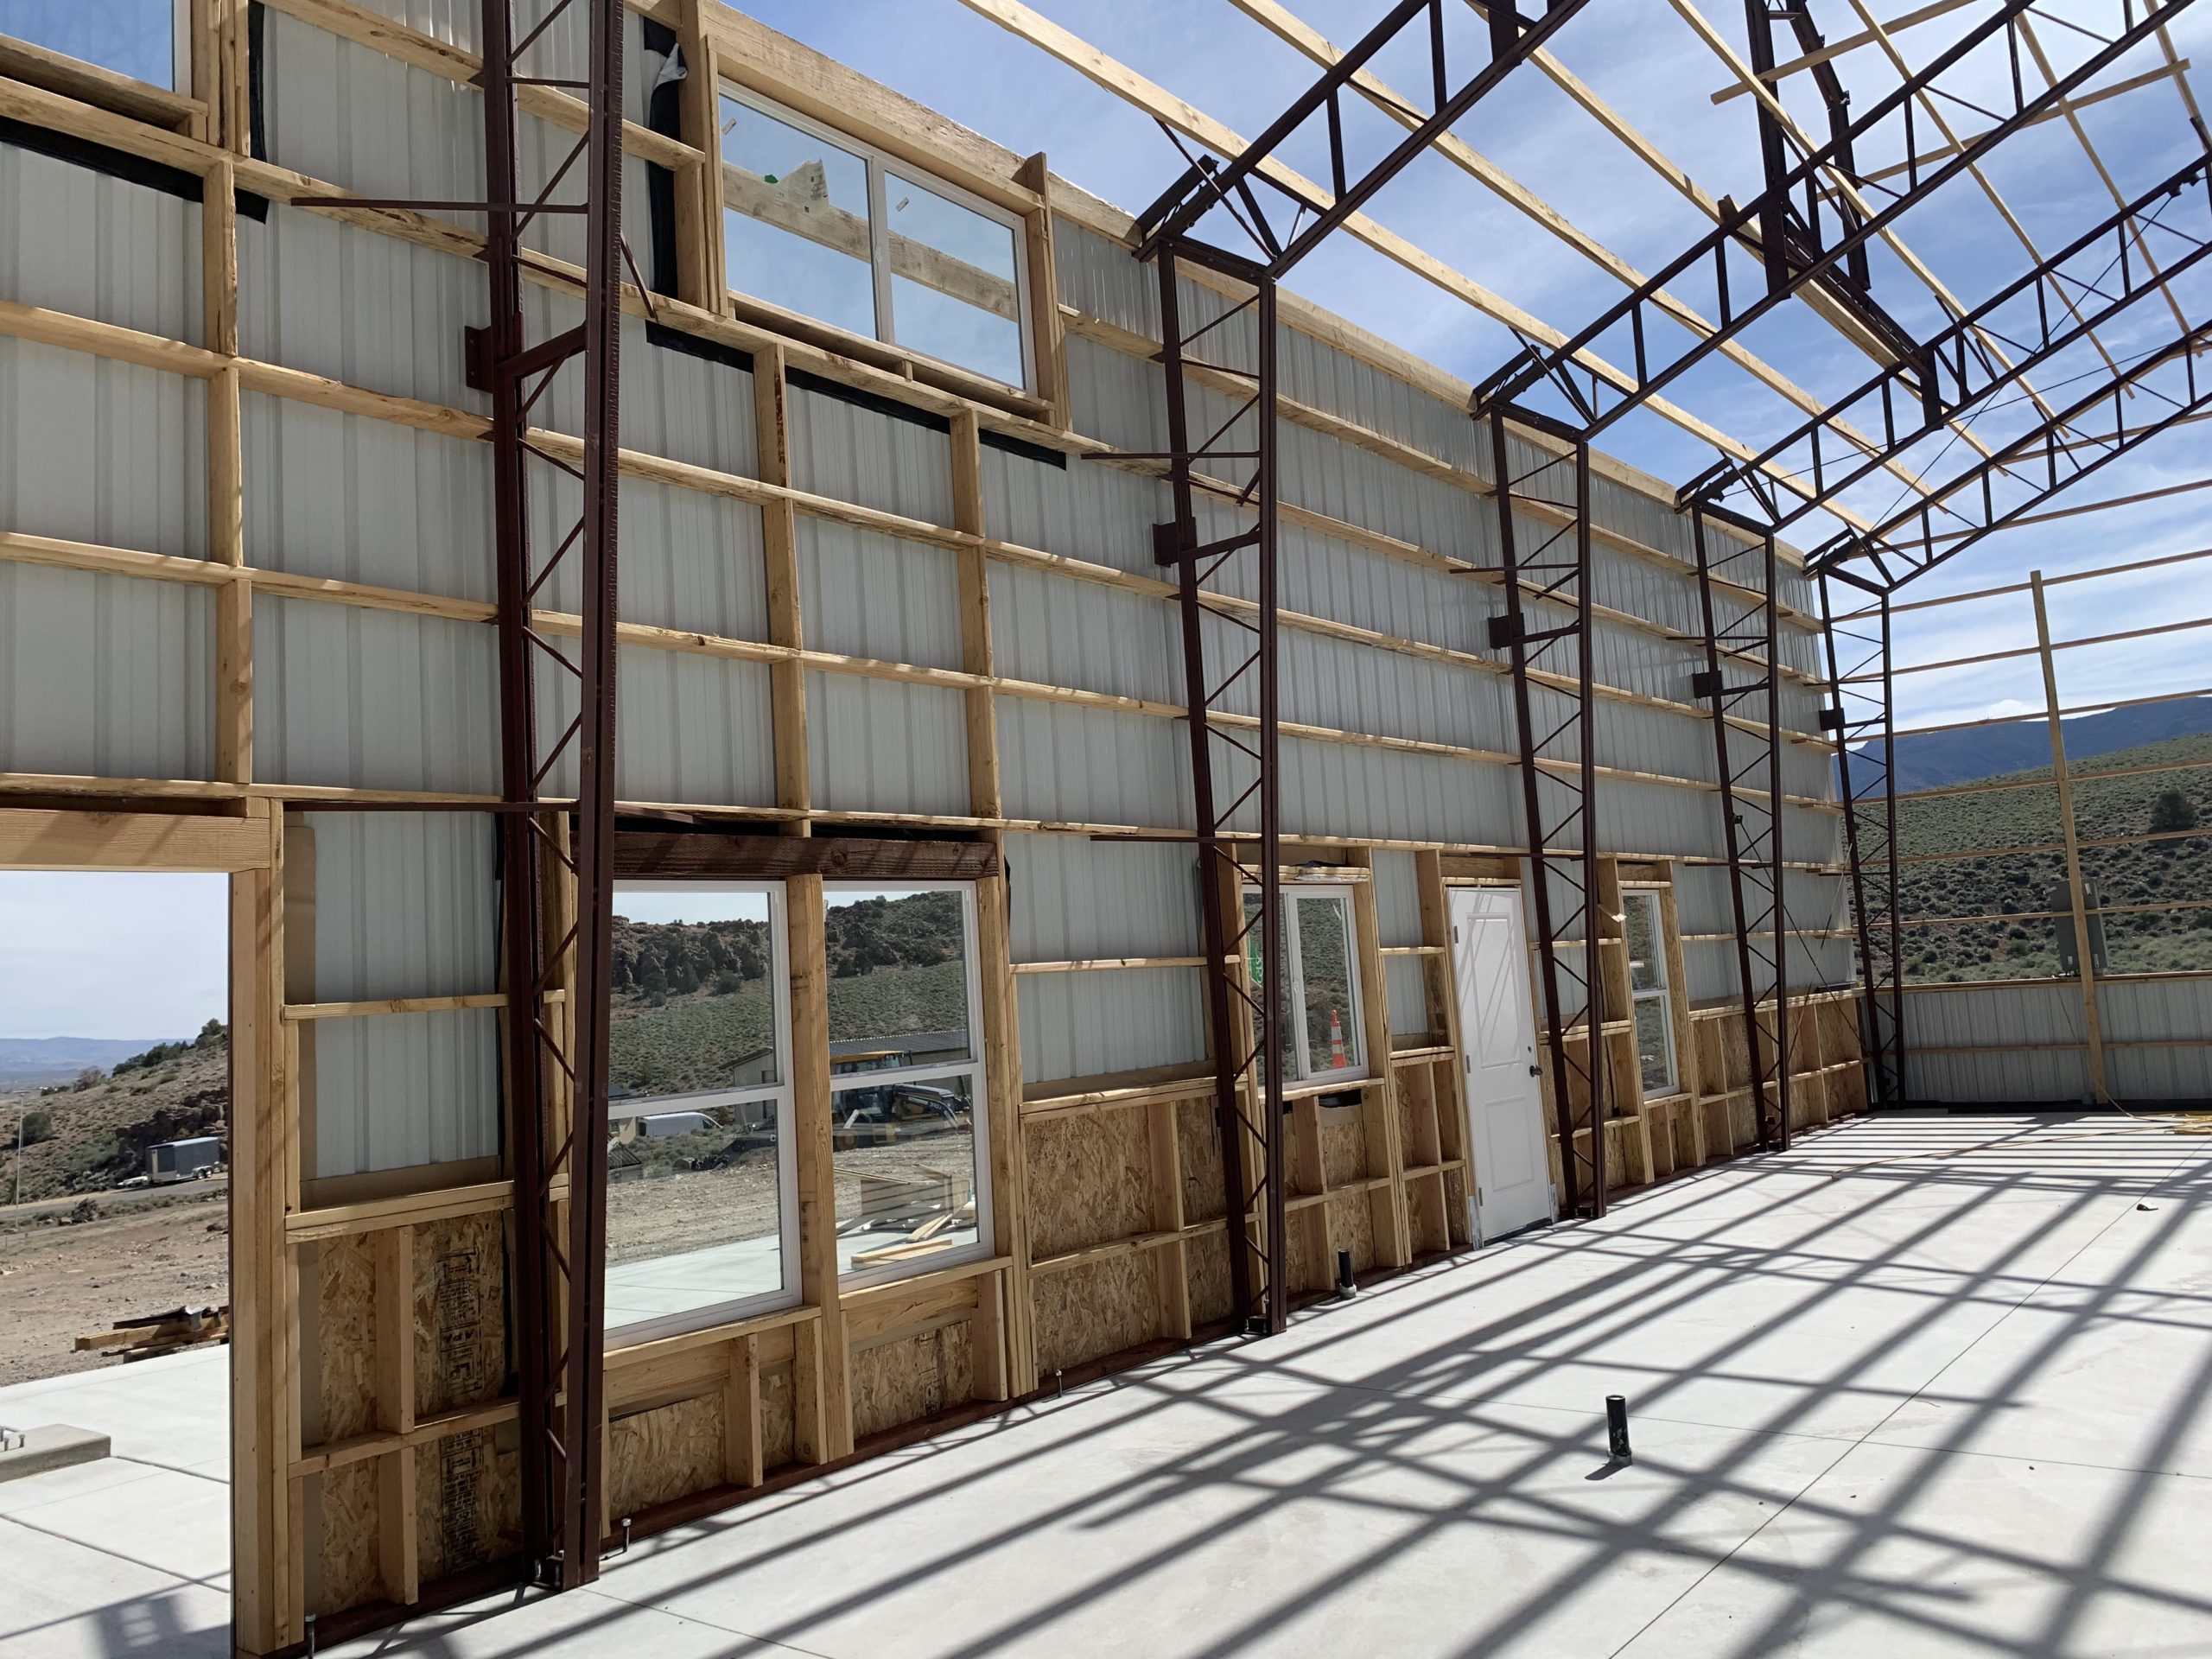
Metal buildings with a primary steel frame can utilize metal purlins and girts or wood as the secondary framing. While installing these elements, you are also creating the spaces for your doors and windows around the wall columns and end columns.
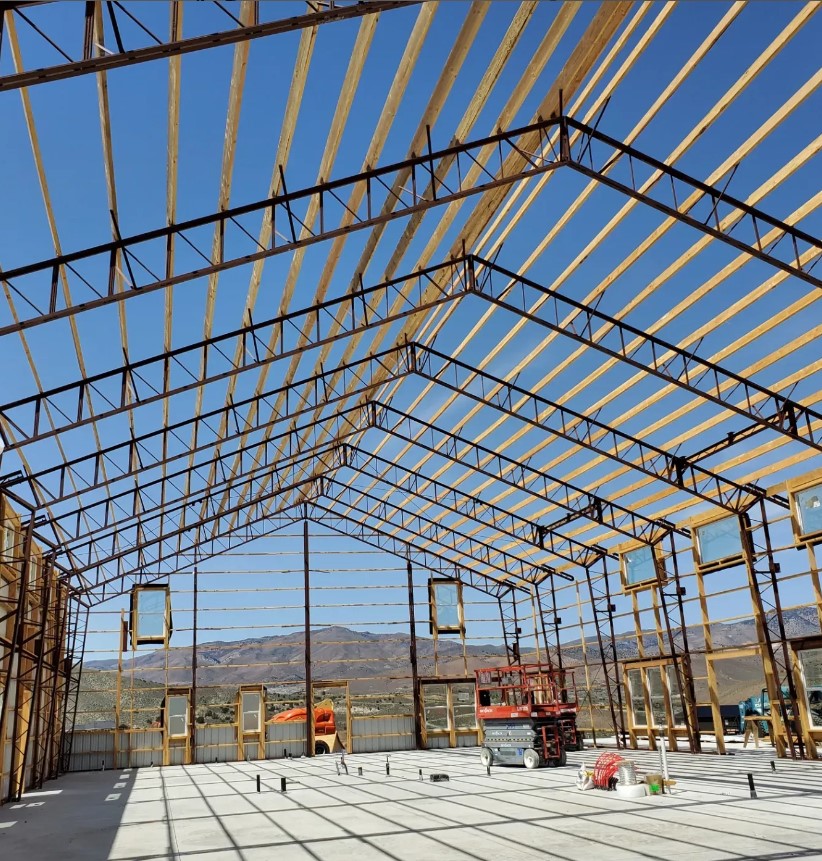
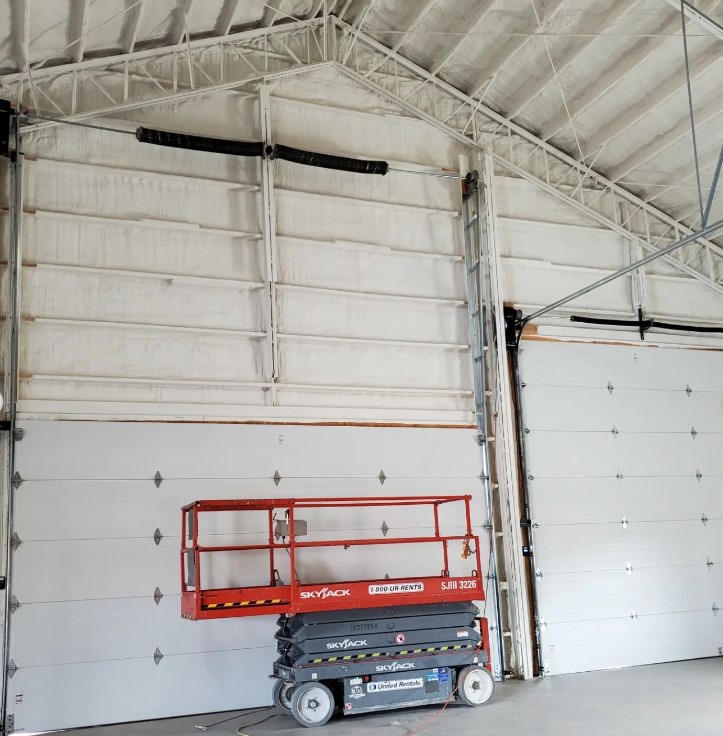
Side Walls + Roof Panels
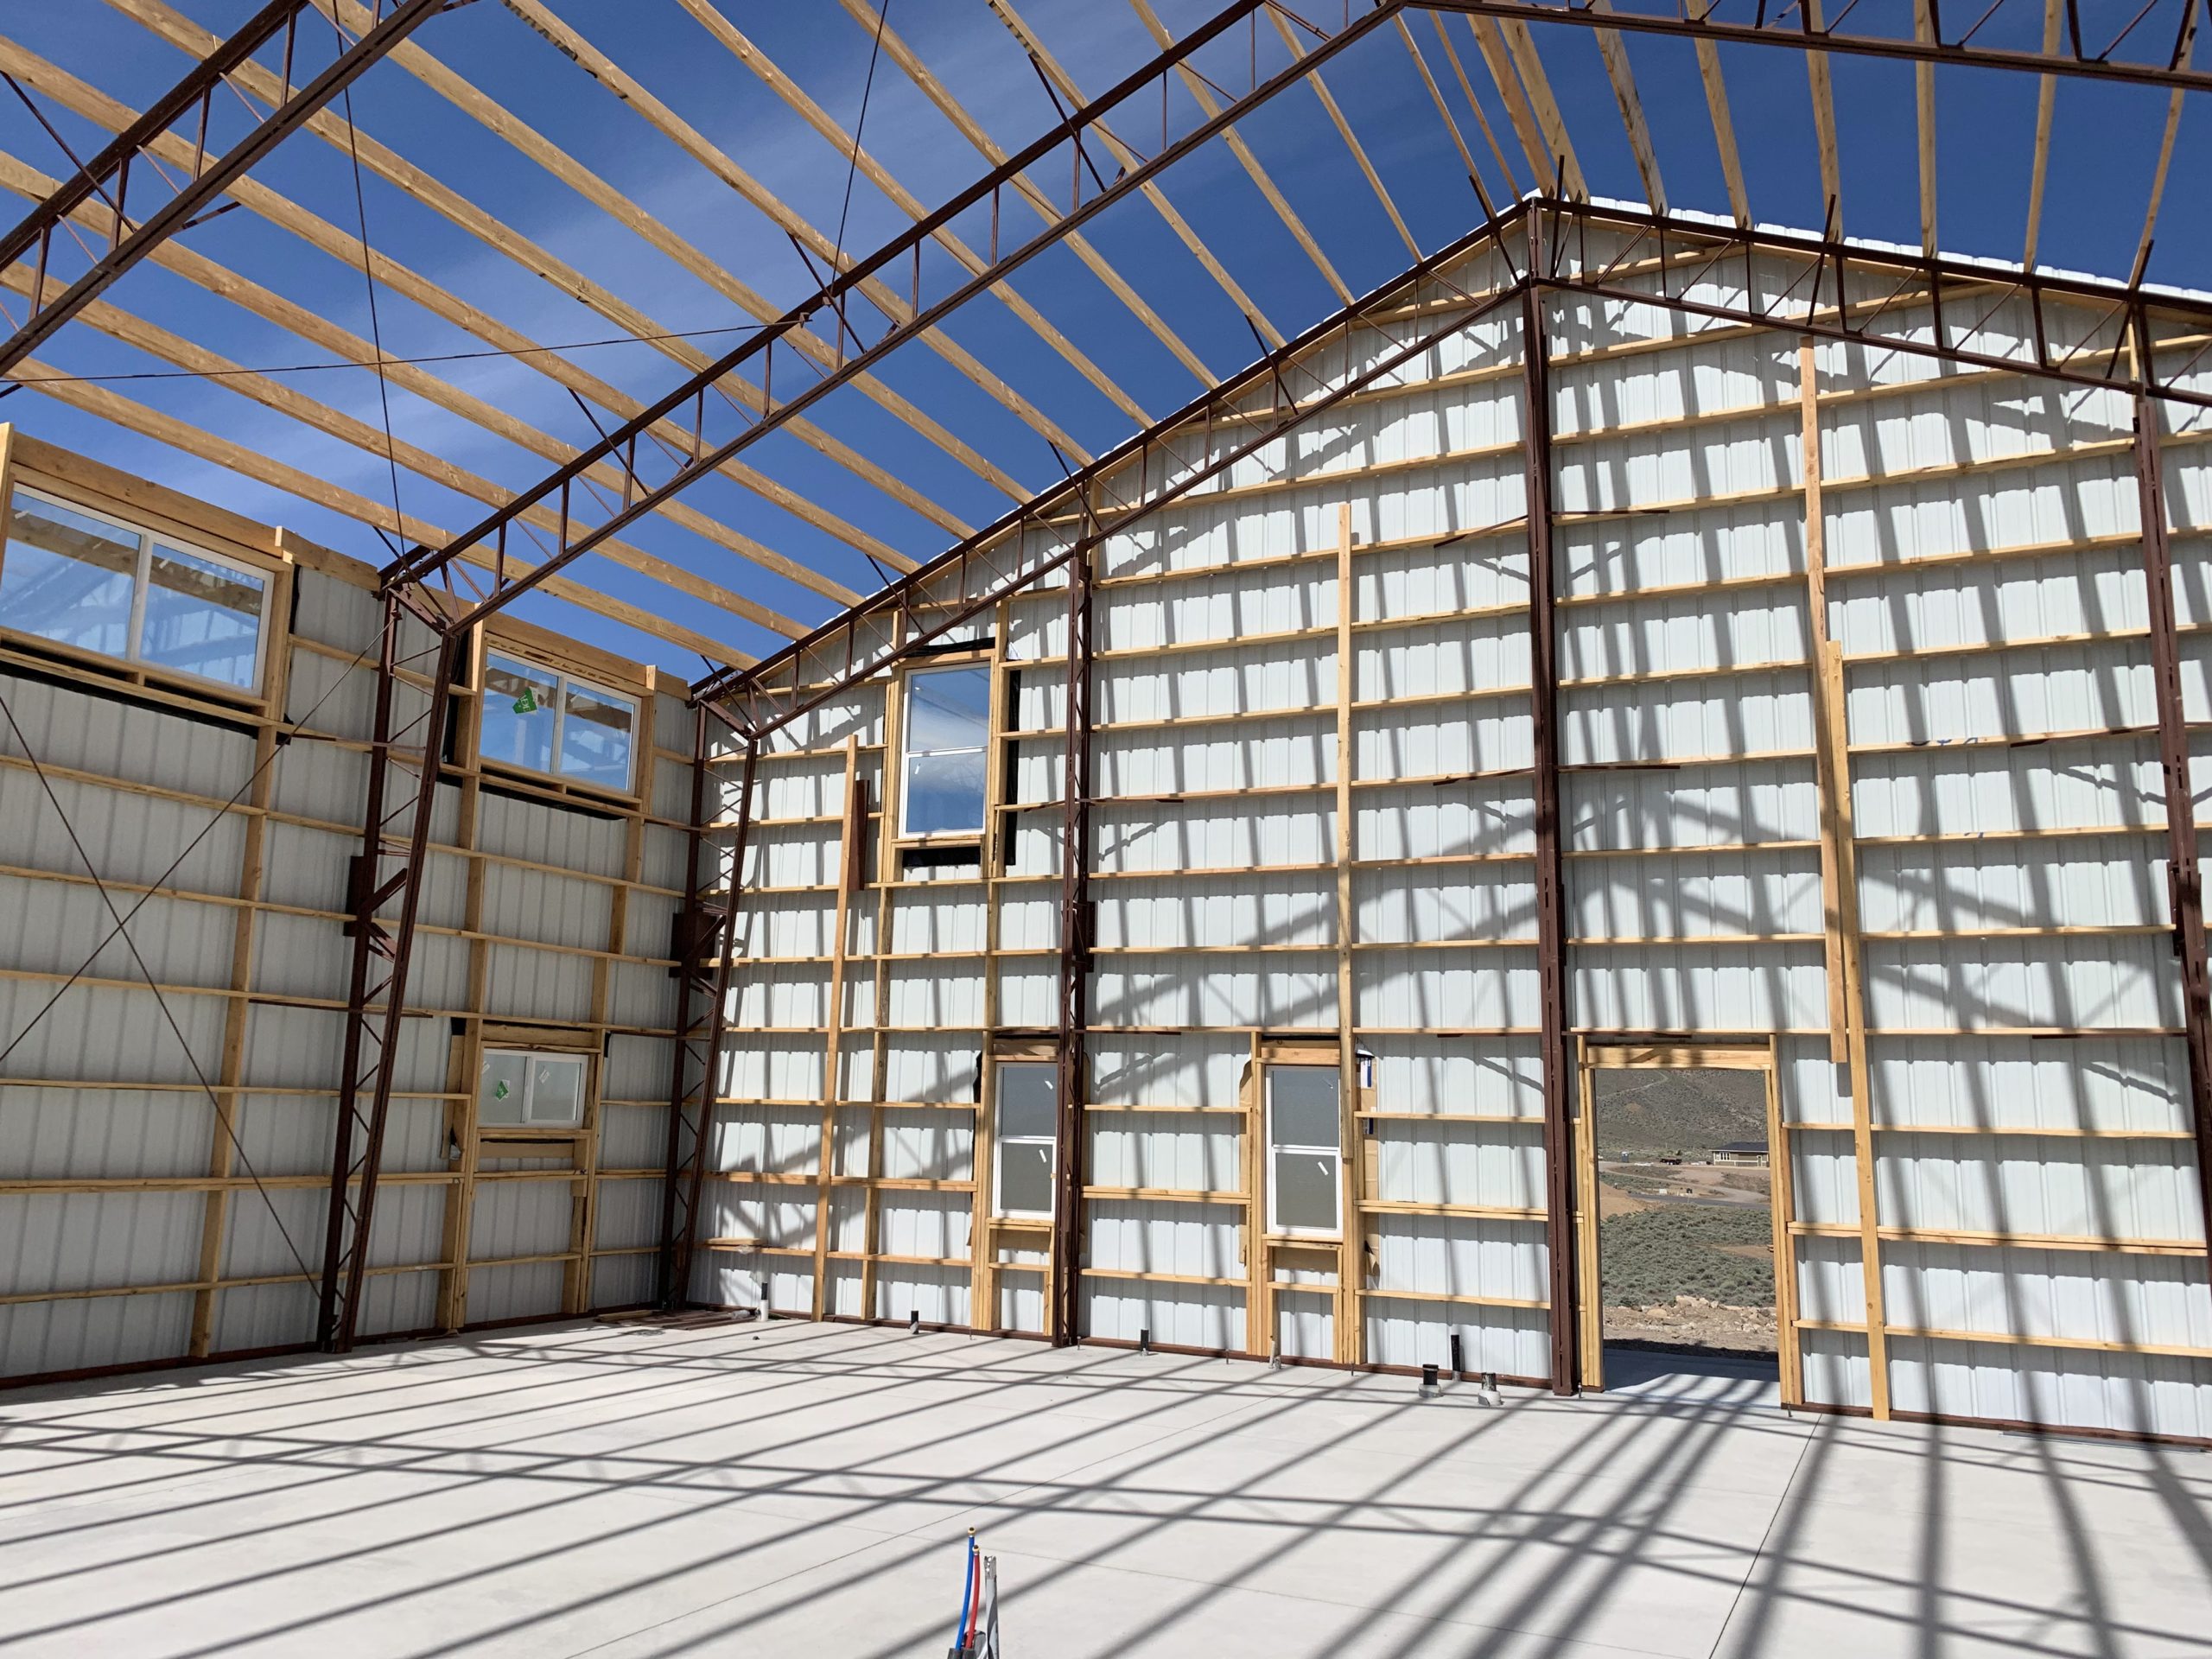
Once your primary framework and secondary framework is assembled, you can start hanging your outer shell roofing panels and wall panels. You can also install insulation during this process or at a later time, depending on what type of insulation you choose for your climate and usage.
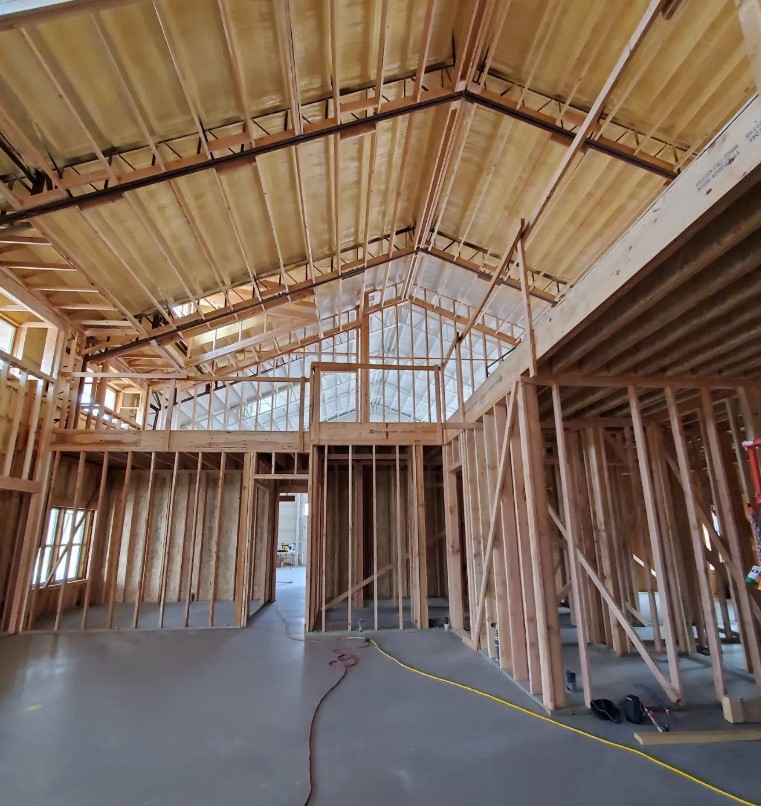
Insulation Choices
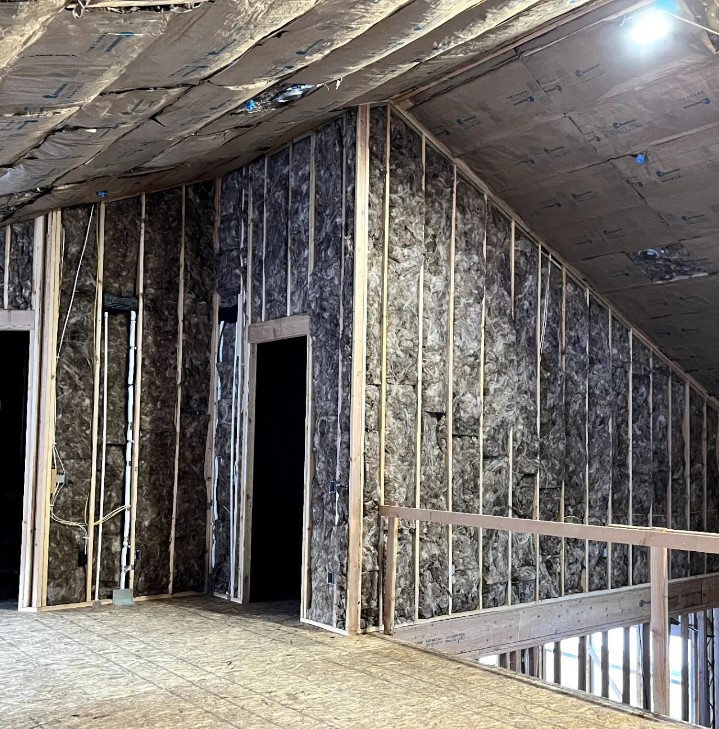
The Arndt family chose to install a layer of insulation before their interior framework to create an additional exterior weather resistance for climate control in their living space and garage shop space.
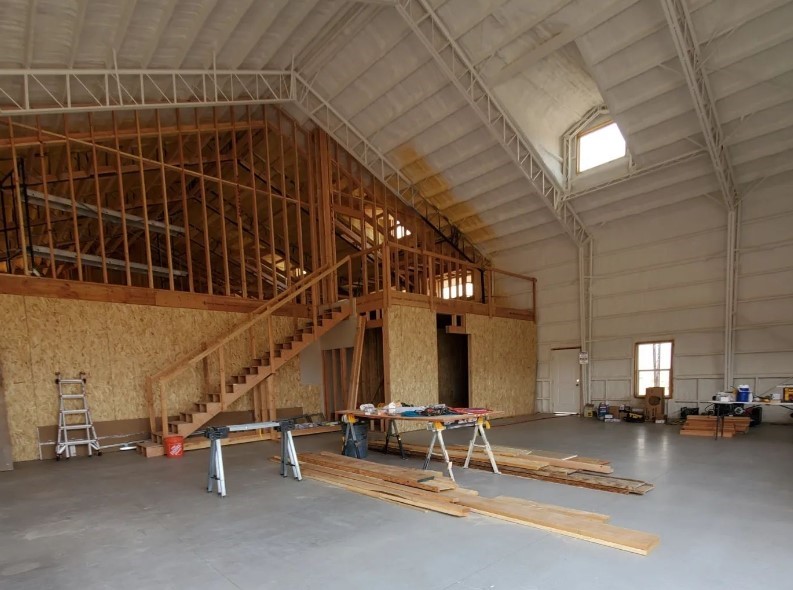
Mezzanine Kits
When you add a second level mezzanine plan to your building kit, you are increasing the usefulness of your interior space by adding more square footage within the same footprint. You can also maintain high ceilings when designing with Worldwide’s steel columns, because your mezzanine joists can be set at any height for wood flooring and also for metal flooring that provide high load-bearing weight capacity.
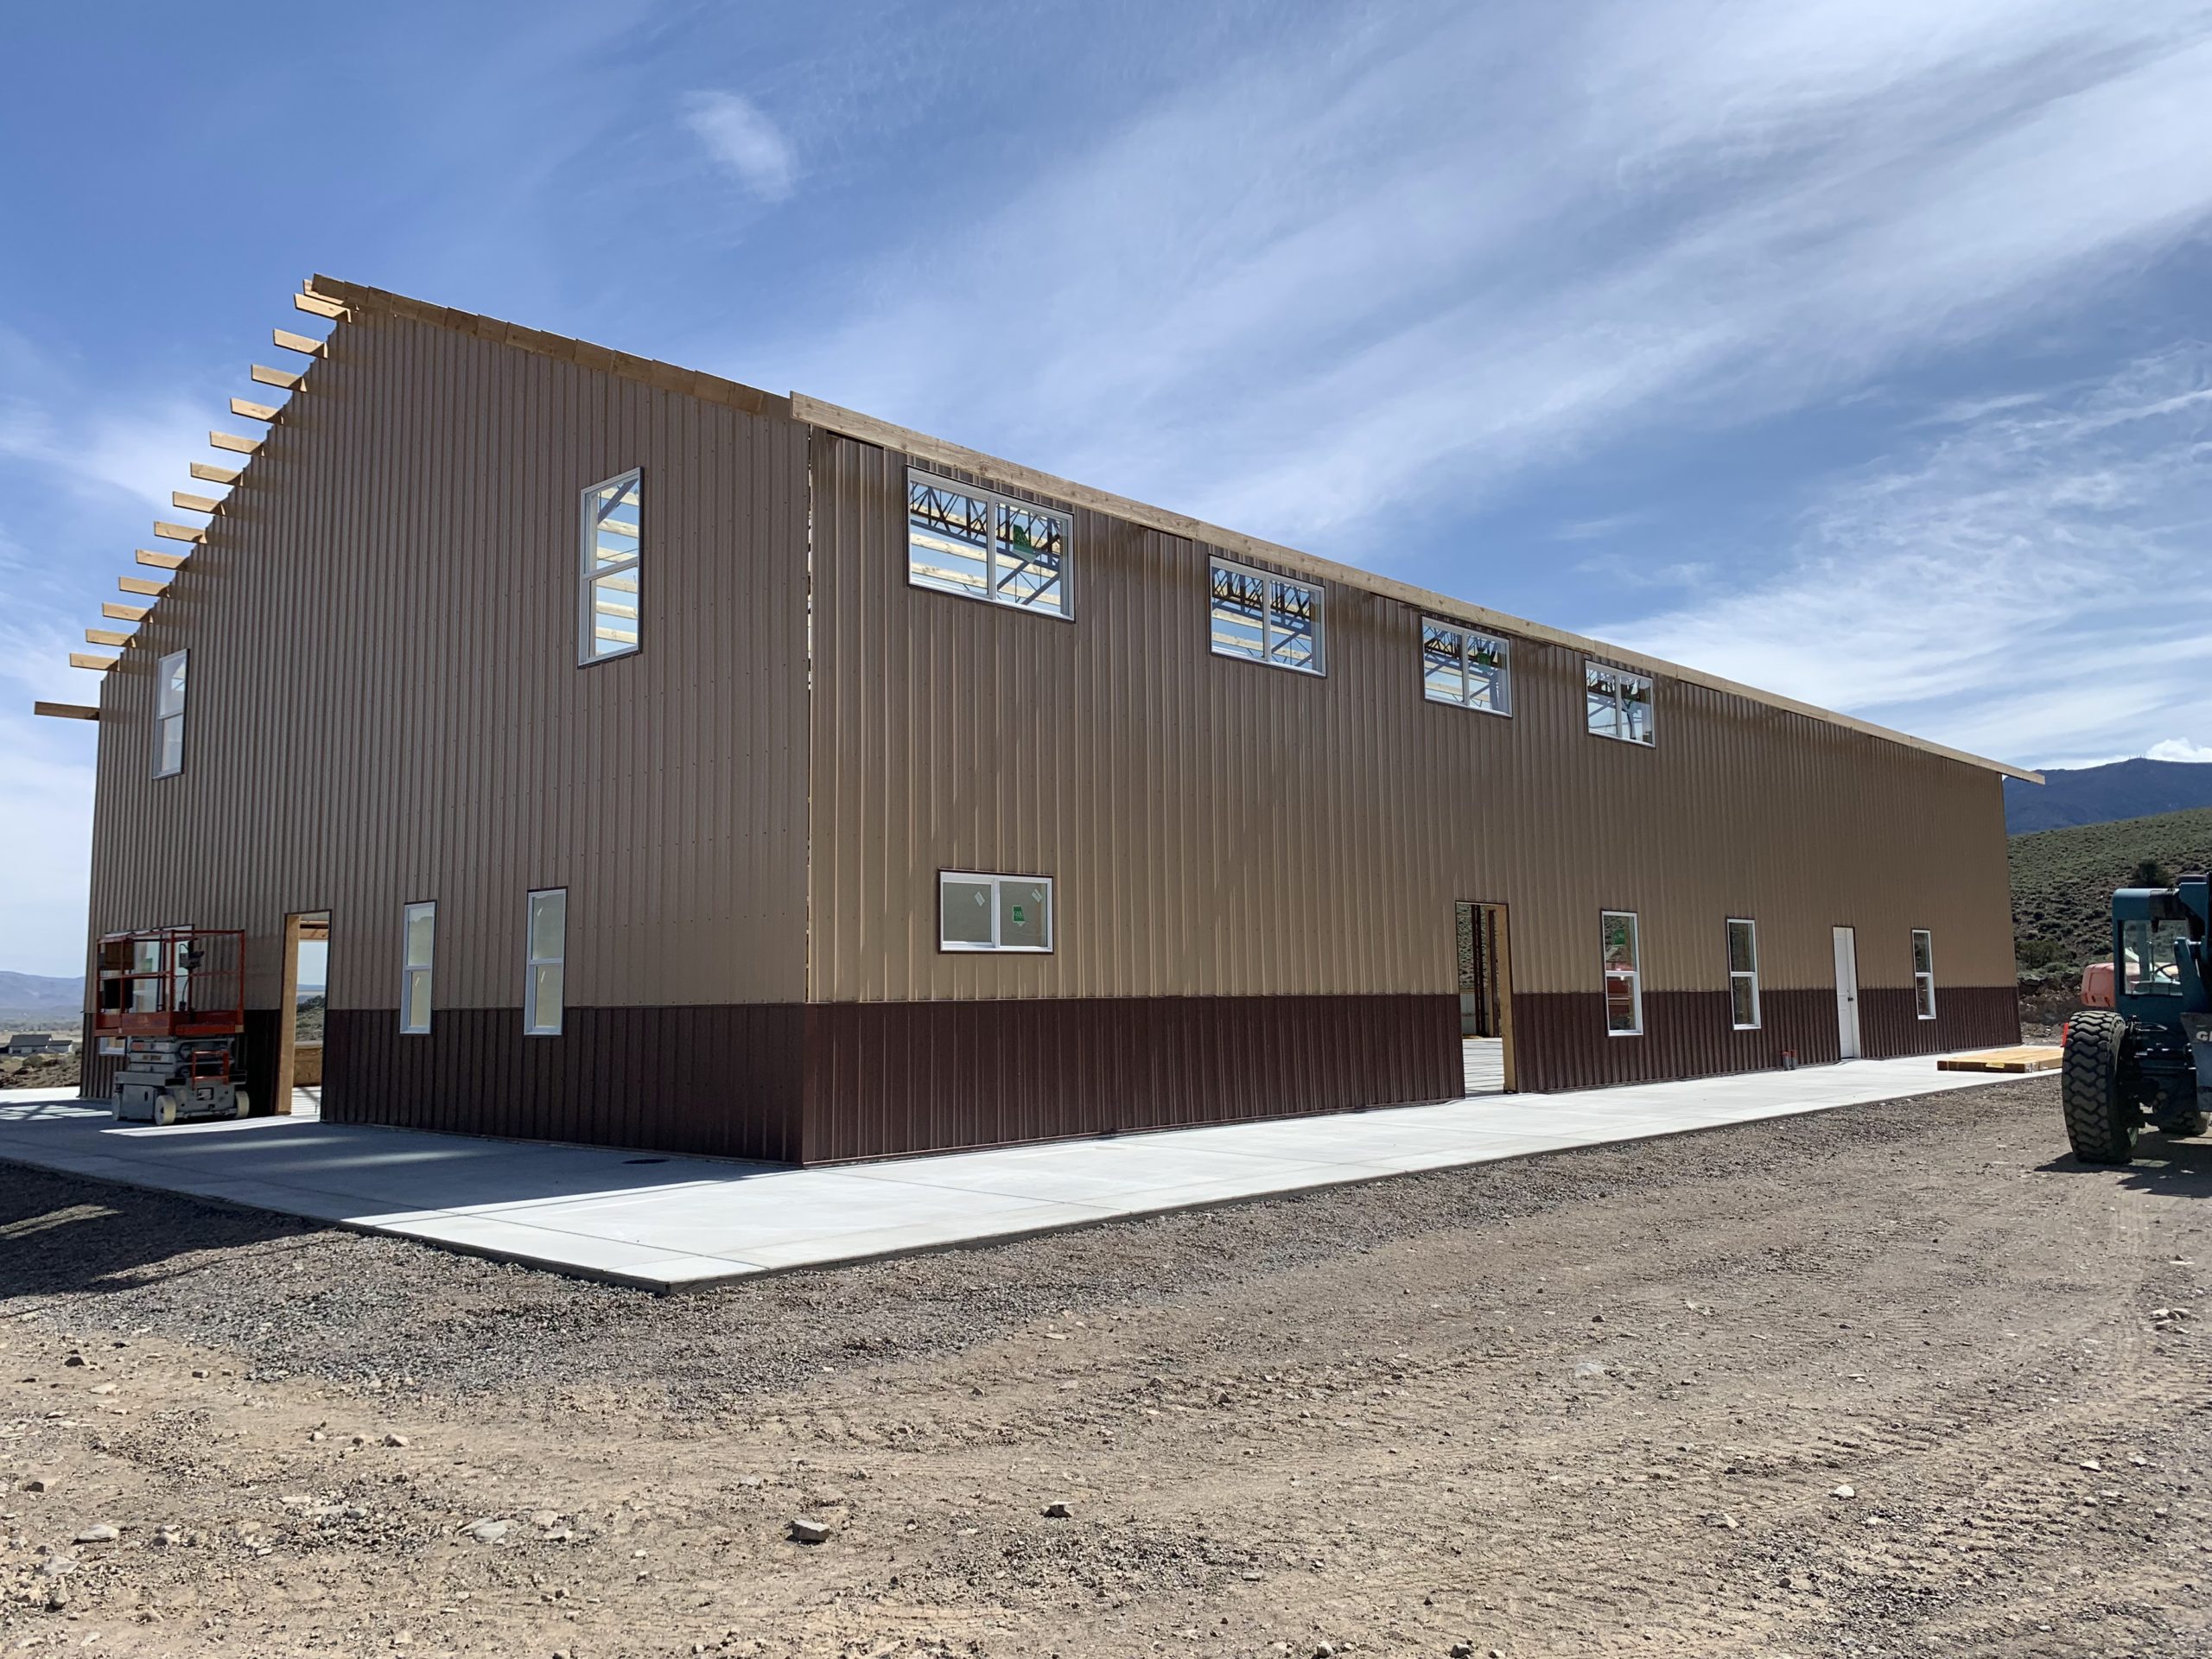
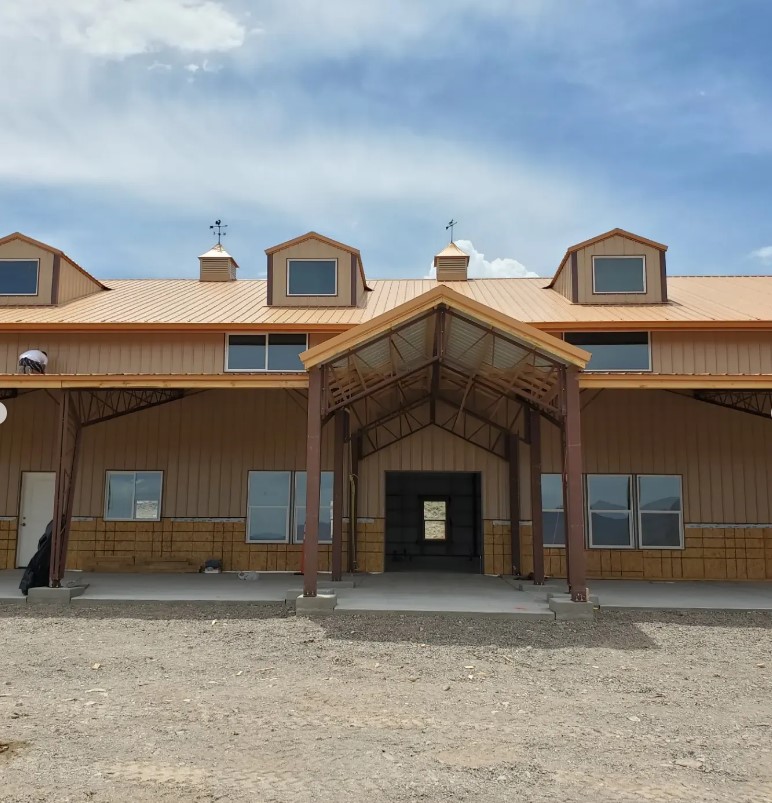
Custom Finish Options
Most customers envision multiple exterior customizations as well as interior customization options. In this custom build, the choice was a double front door and extended front porch to create an inviting home entry, along with dormer style second level windows, and cupolas on the roof. Porch soffits will be the final exterior installation.
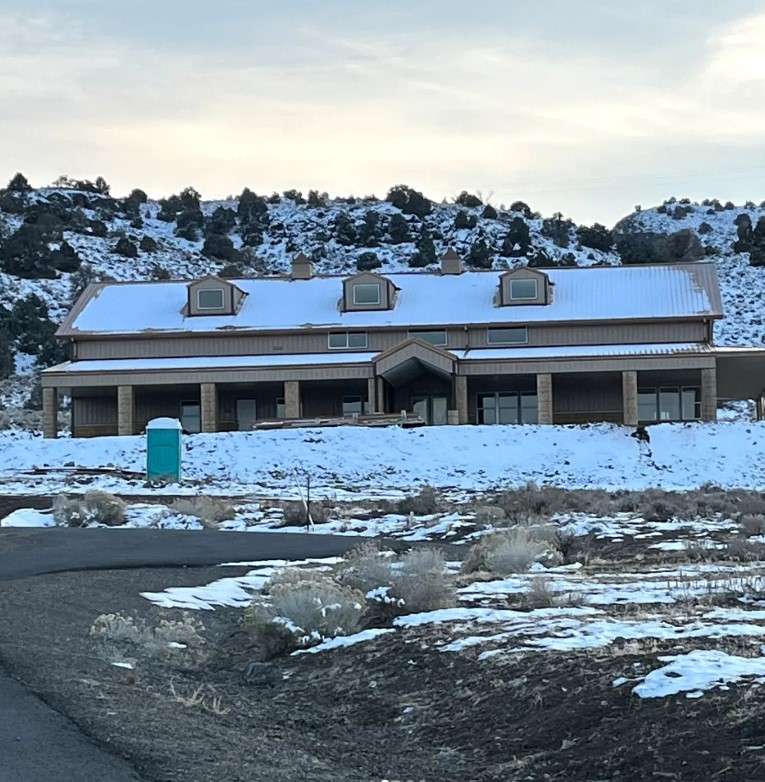
Finished Front Porch
“Thank you to @worldwidesteelbuildings for making this work!” ~ Leslie
Our building design experts are available to answer any questions you may have about your barndominium project.
Call us at # 800-825-0316
or visit us online at
WorldwideSteelBuildings.com
for more information.
